phil37
Hero member
- Location
- Lincolnshire
Just starting to go through the Palmelli to rectify a few small problems that inevitably arise from a one-off prototype. Not meant in any way as a criticism of it's builder - the standard of work is very high - this is despite Steve Elliots' very limited workshop facilities - he worked out of what was pretty much a back alley lock-up. If you ever watch the "Sweeney" - they often used the alley at the back of Steve's place for filming chases and other criminal activities!
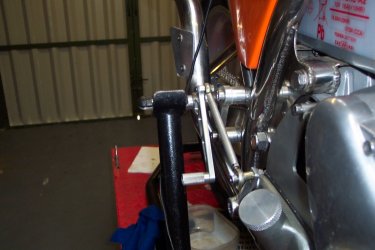
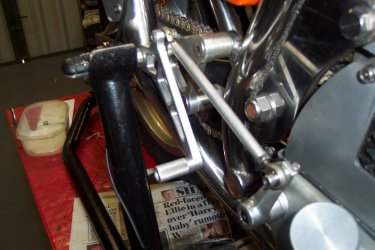
I've mentioned on another thread the chain proximity to the swinging arm brace - but there's a few other things I'm going to rectify as well.
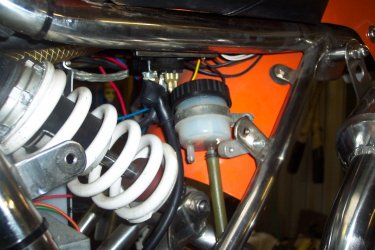
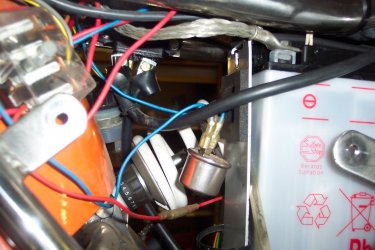
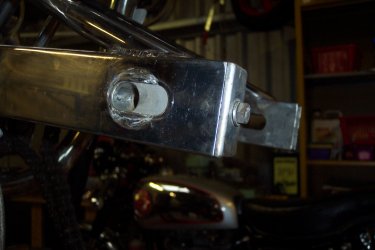
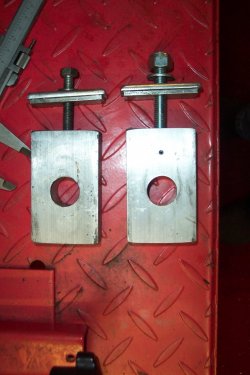
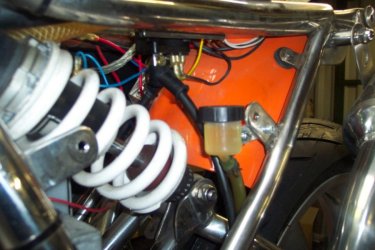
So far I've spotted that the rear master cylinder has been hastily re-positioned to clear the rear unit - will move it to become level and out of the way. The flasher unit is not mounted securely - will make an anti-vibe mounting for that. The rear wheel adjusters are bolts - this works fine except there's no facility to measure when adjusting - will use 10mm studding pinned to the adjuster blocks - same as we used on the Saxon/Motodds. Noticed tank was drumming slightly - so will make sure it's properly isolated from the frame. No doubt I'll find one or two more snags to overcome on this beautiful machine! - Regards - Phil
I've mentioned on another thread the chain proximity to the swinging arm brace - but there's a few other things I'm going to rectify as well.
So far I've spotted that the rear master cylinder has been hastily re-positioned to clear the rear unit - will move it to become level and out of the way. The flasher unit is not mounted securely - will make an anti-vibe mounting for that. The rear wheel adjusters are bolts - this works fine except there's no facility to measure when adjusting - will use 10mm studding pinned to the adjuster blocks - same as we used on the Saxon/Motodds. Noticed tank was drumming slightly - so will make sure it's properly isolated from the frame. No doubt I'll find one or two more snags to overcome on this beautiful machine! - Regards - Phil