Re: What did you do to or for or with your Laverda today?

Started with the cut and polish to clean up a few small defects in my new 2K topcoat on Boba's carbon and realised they weren't too small. So opened a beer and sat down and will start rubbing back with wet and dry tomorrow and give it a couple more coats of clear. Oh well, I never did consider myself to be a painter.

Matso's Broome Brewery Pearler's Pale Ale for those that are interested.
 
Rode to work on the SF2.
An issue is creeping up. Did a lot of touring over the last couple of weekends and on constant throttle cruising around 90/100 km/h, the engien would occasionnaly hesitate a fraction of a second. This has got worse over the week on the way to and back from work. At town speeds, when opening up, there is a frank hesitation half way through the revs, around 3000 I imagine.
Too rich and sooting plugs?
Will look into it this weekend and may go as far as getting starter freewheel off so as to change that RH end crank oil seal which is making the engine dirty.
Paul
 
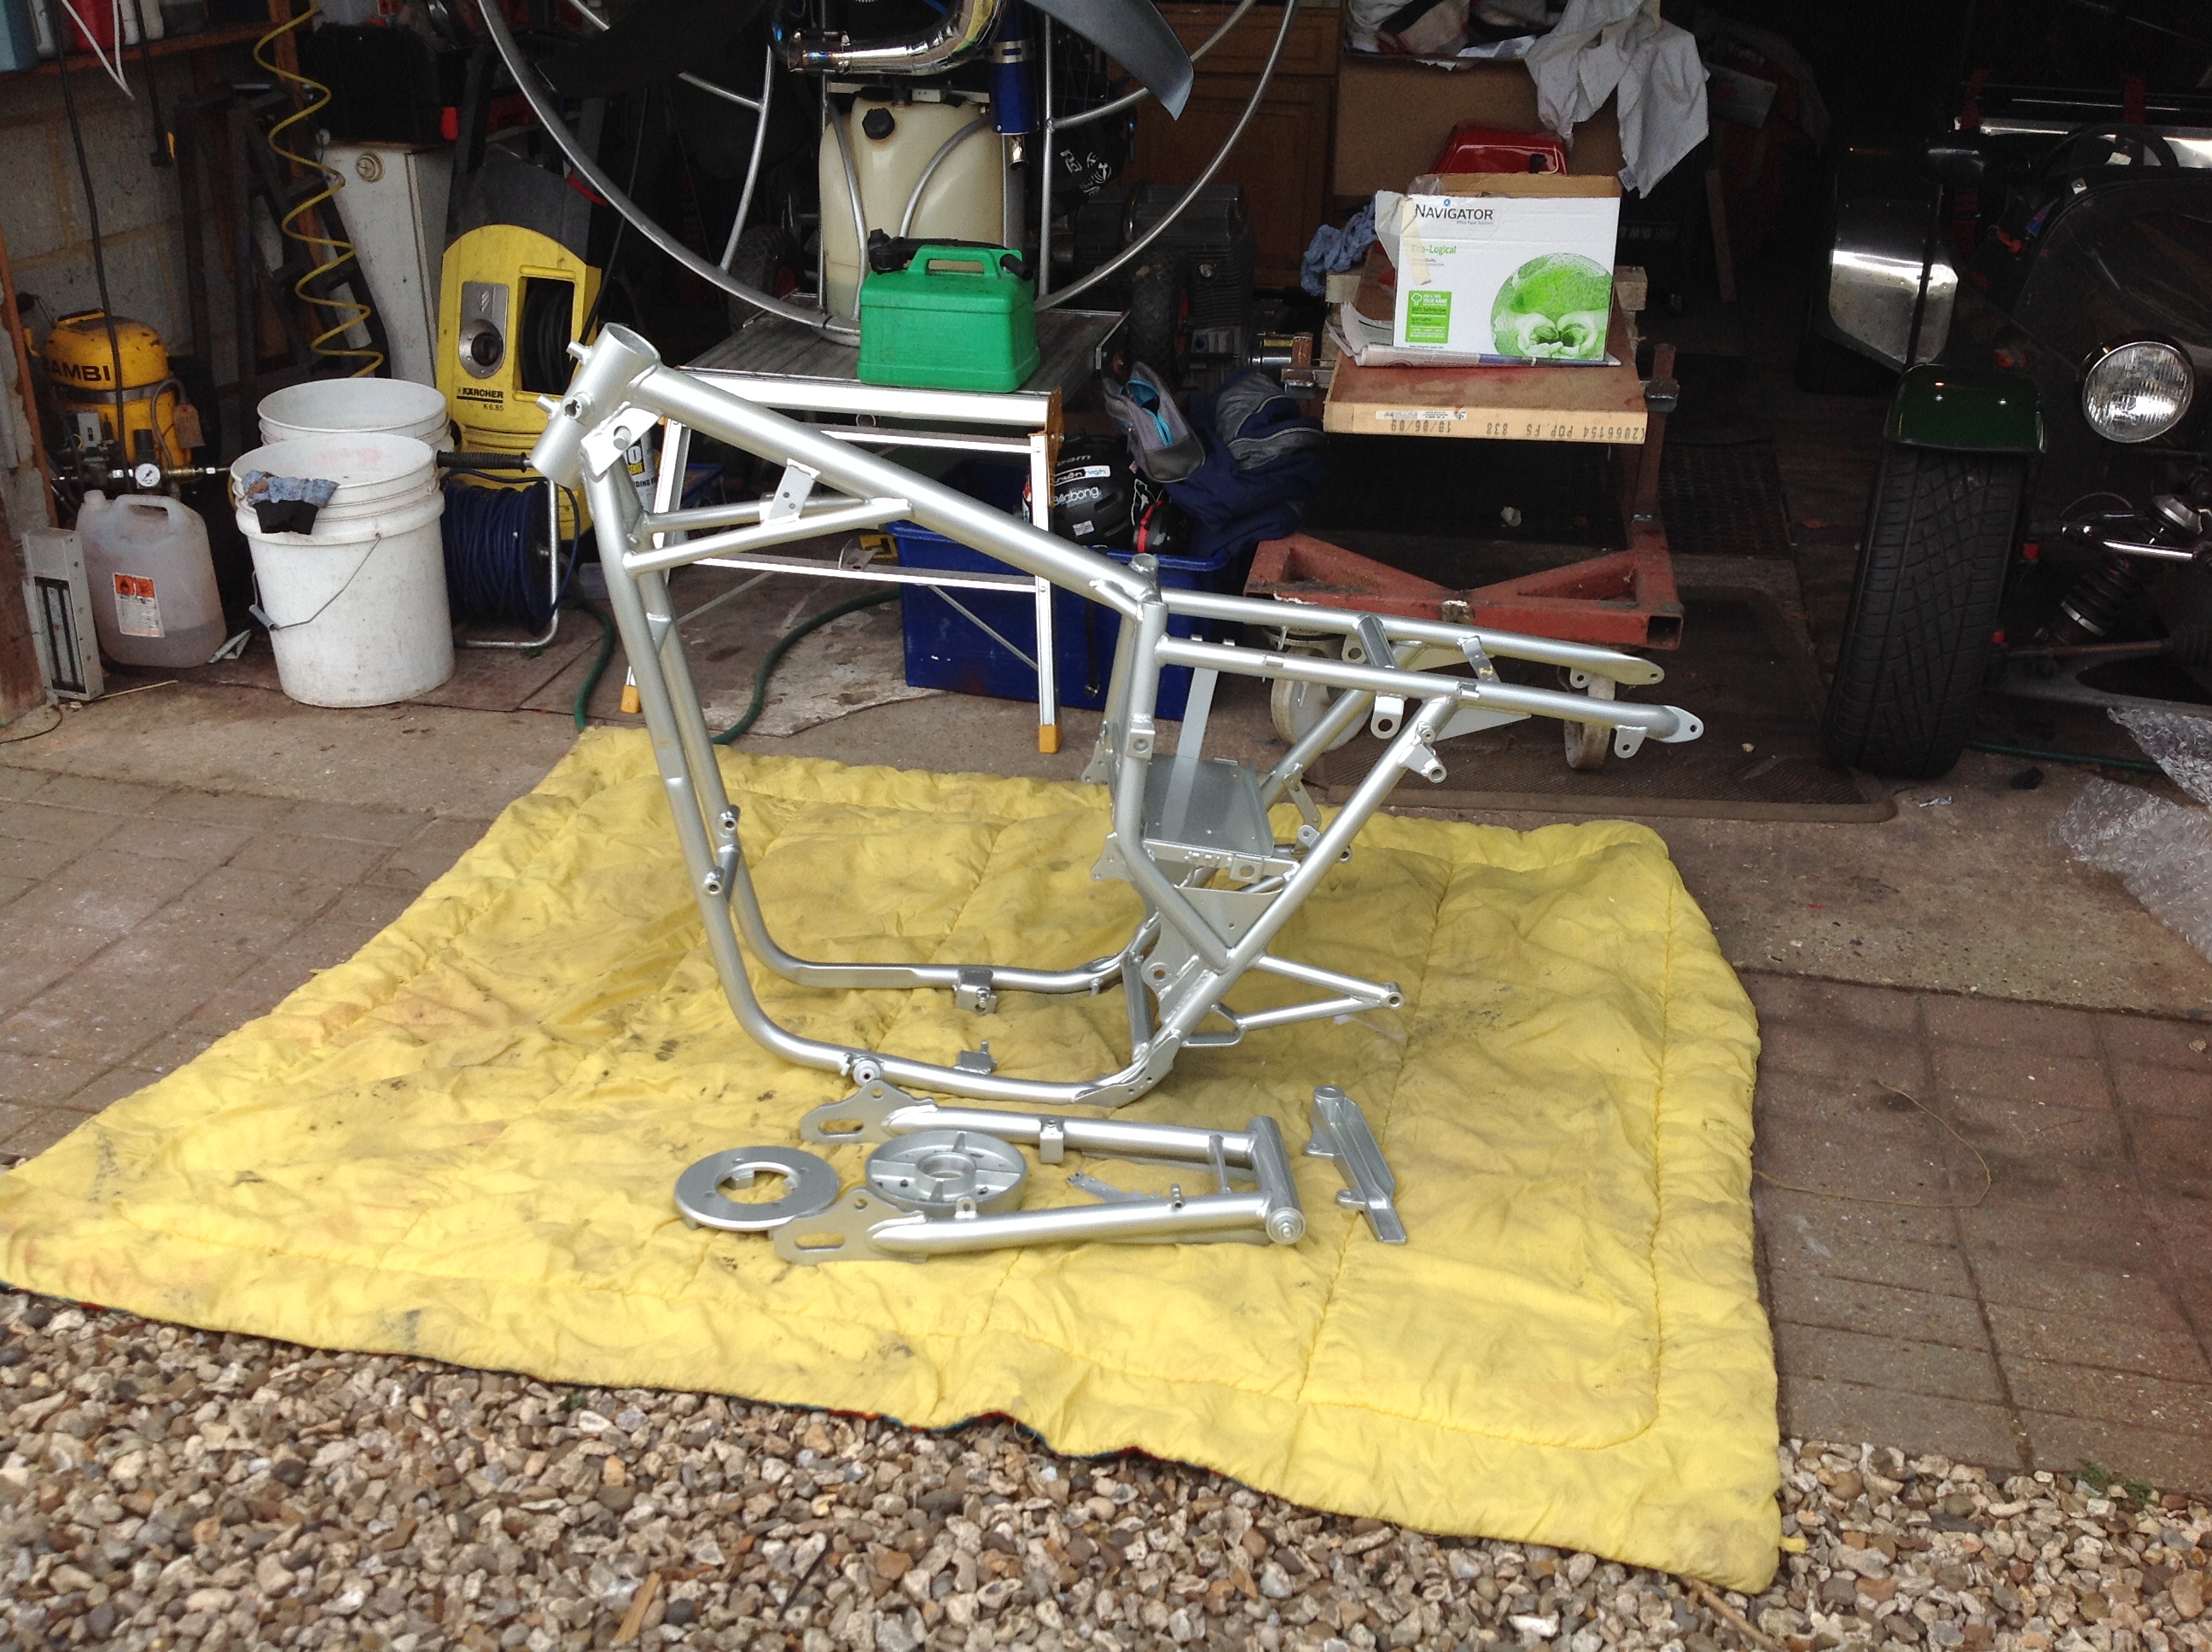
Went up to Stowmarket this morning to meet Nick Marshall and pick up my newly painted frame. He was there loading some nice Italian machinery into a panel van at John Fallon's Made in Italy Motorcycles ready for the start of the journey to the South of France for a weeks tooling around the roads down there.
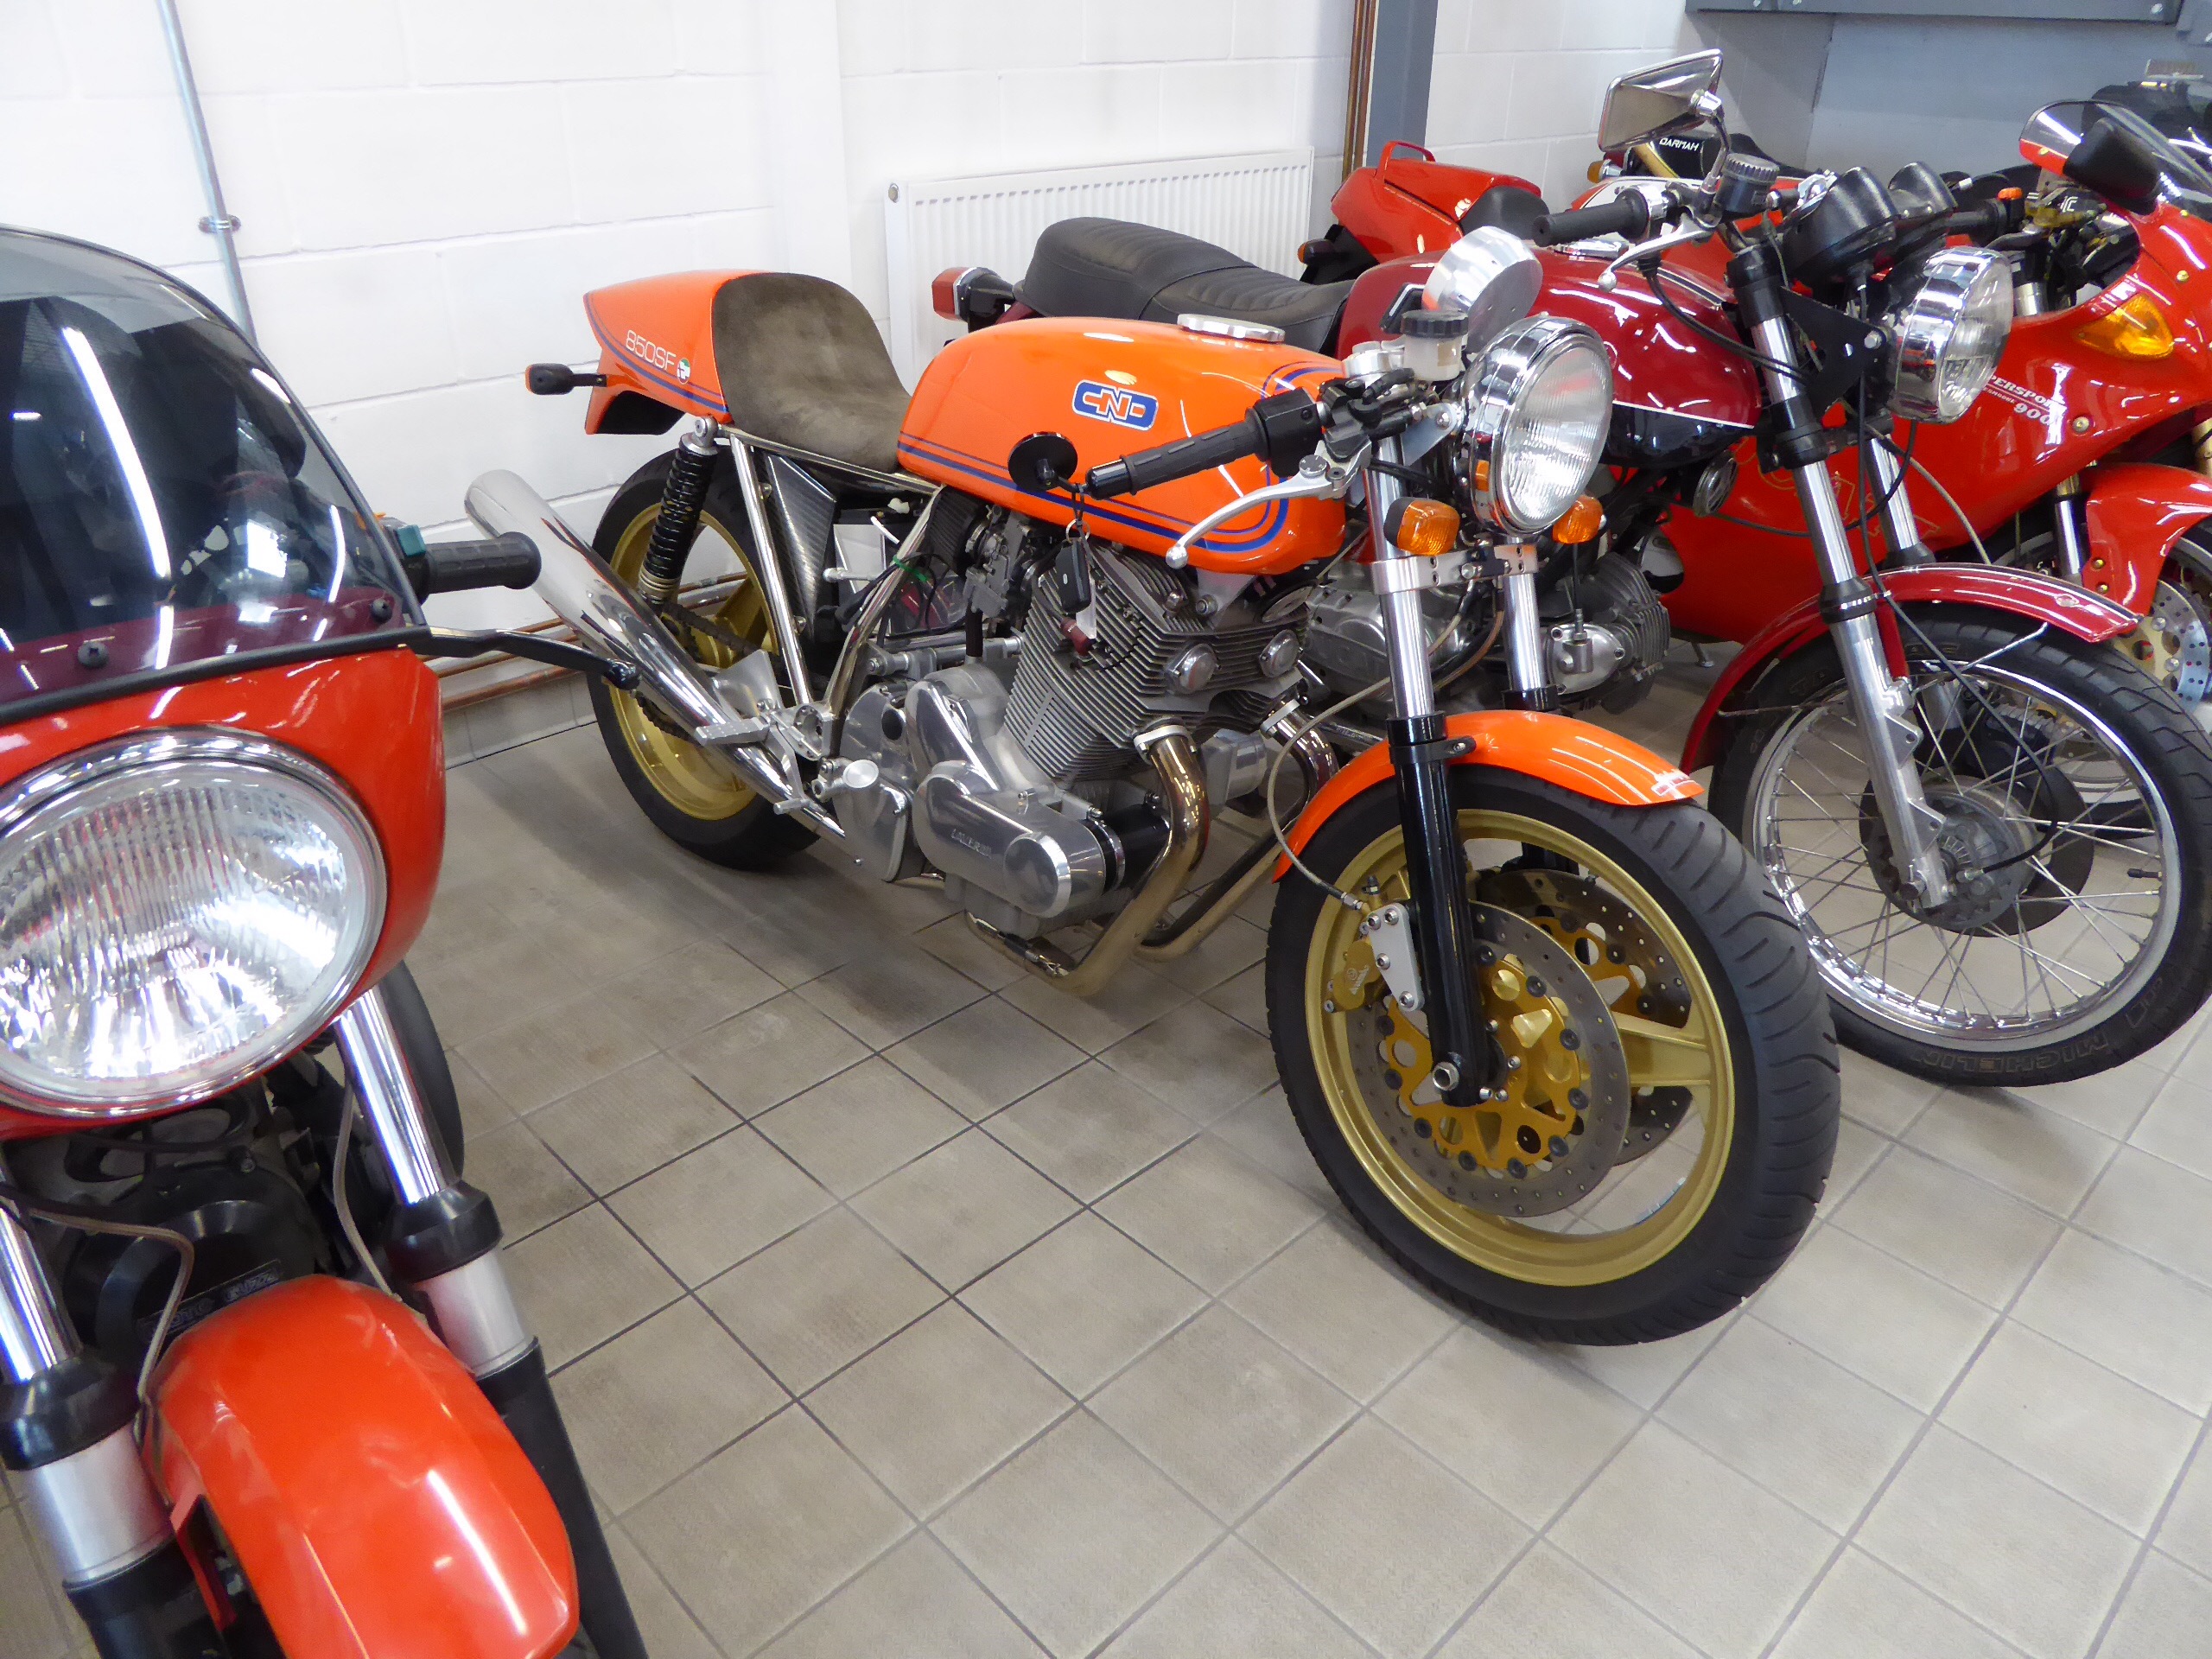
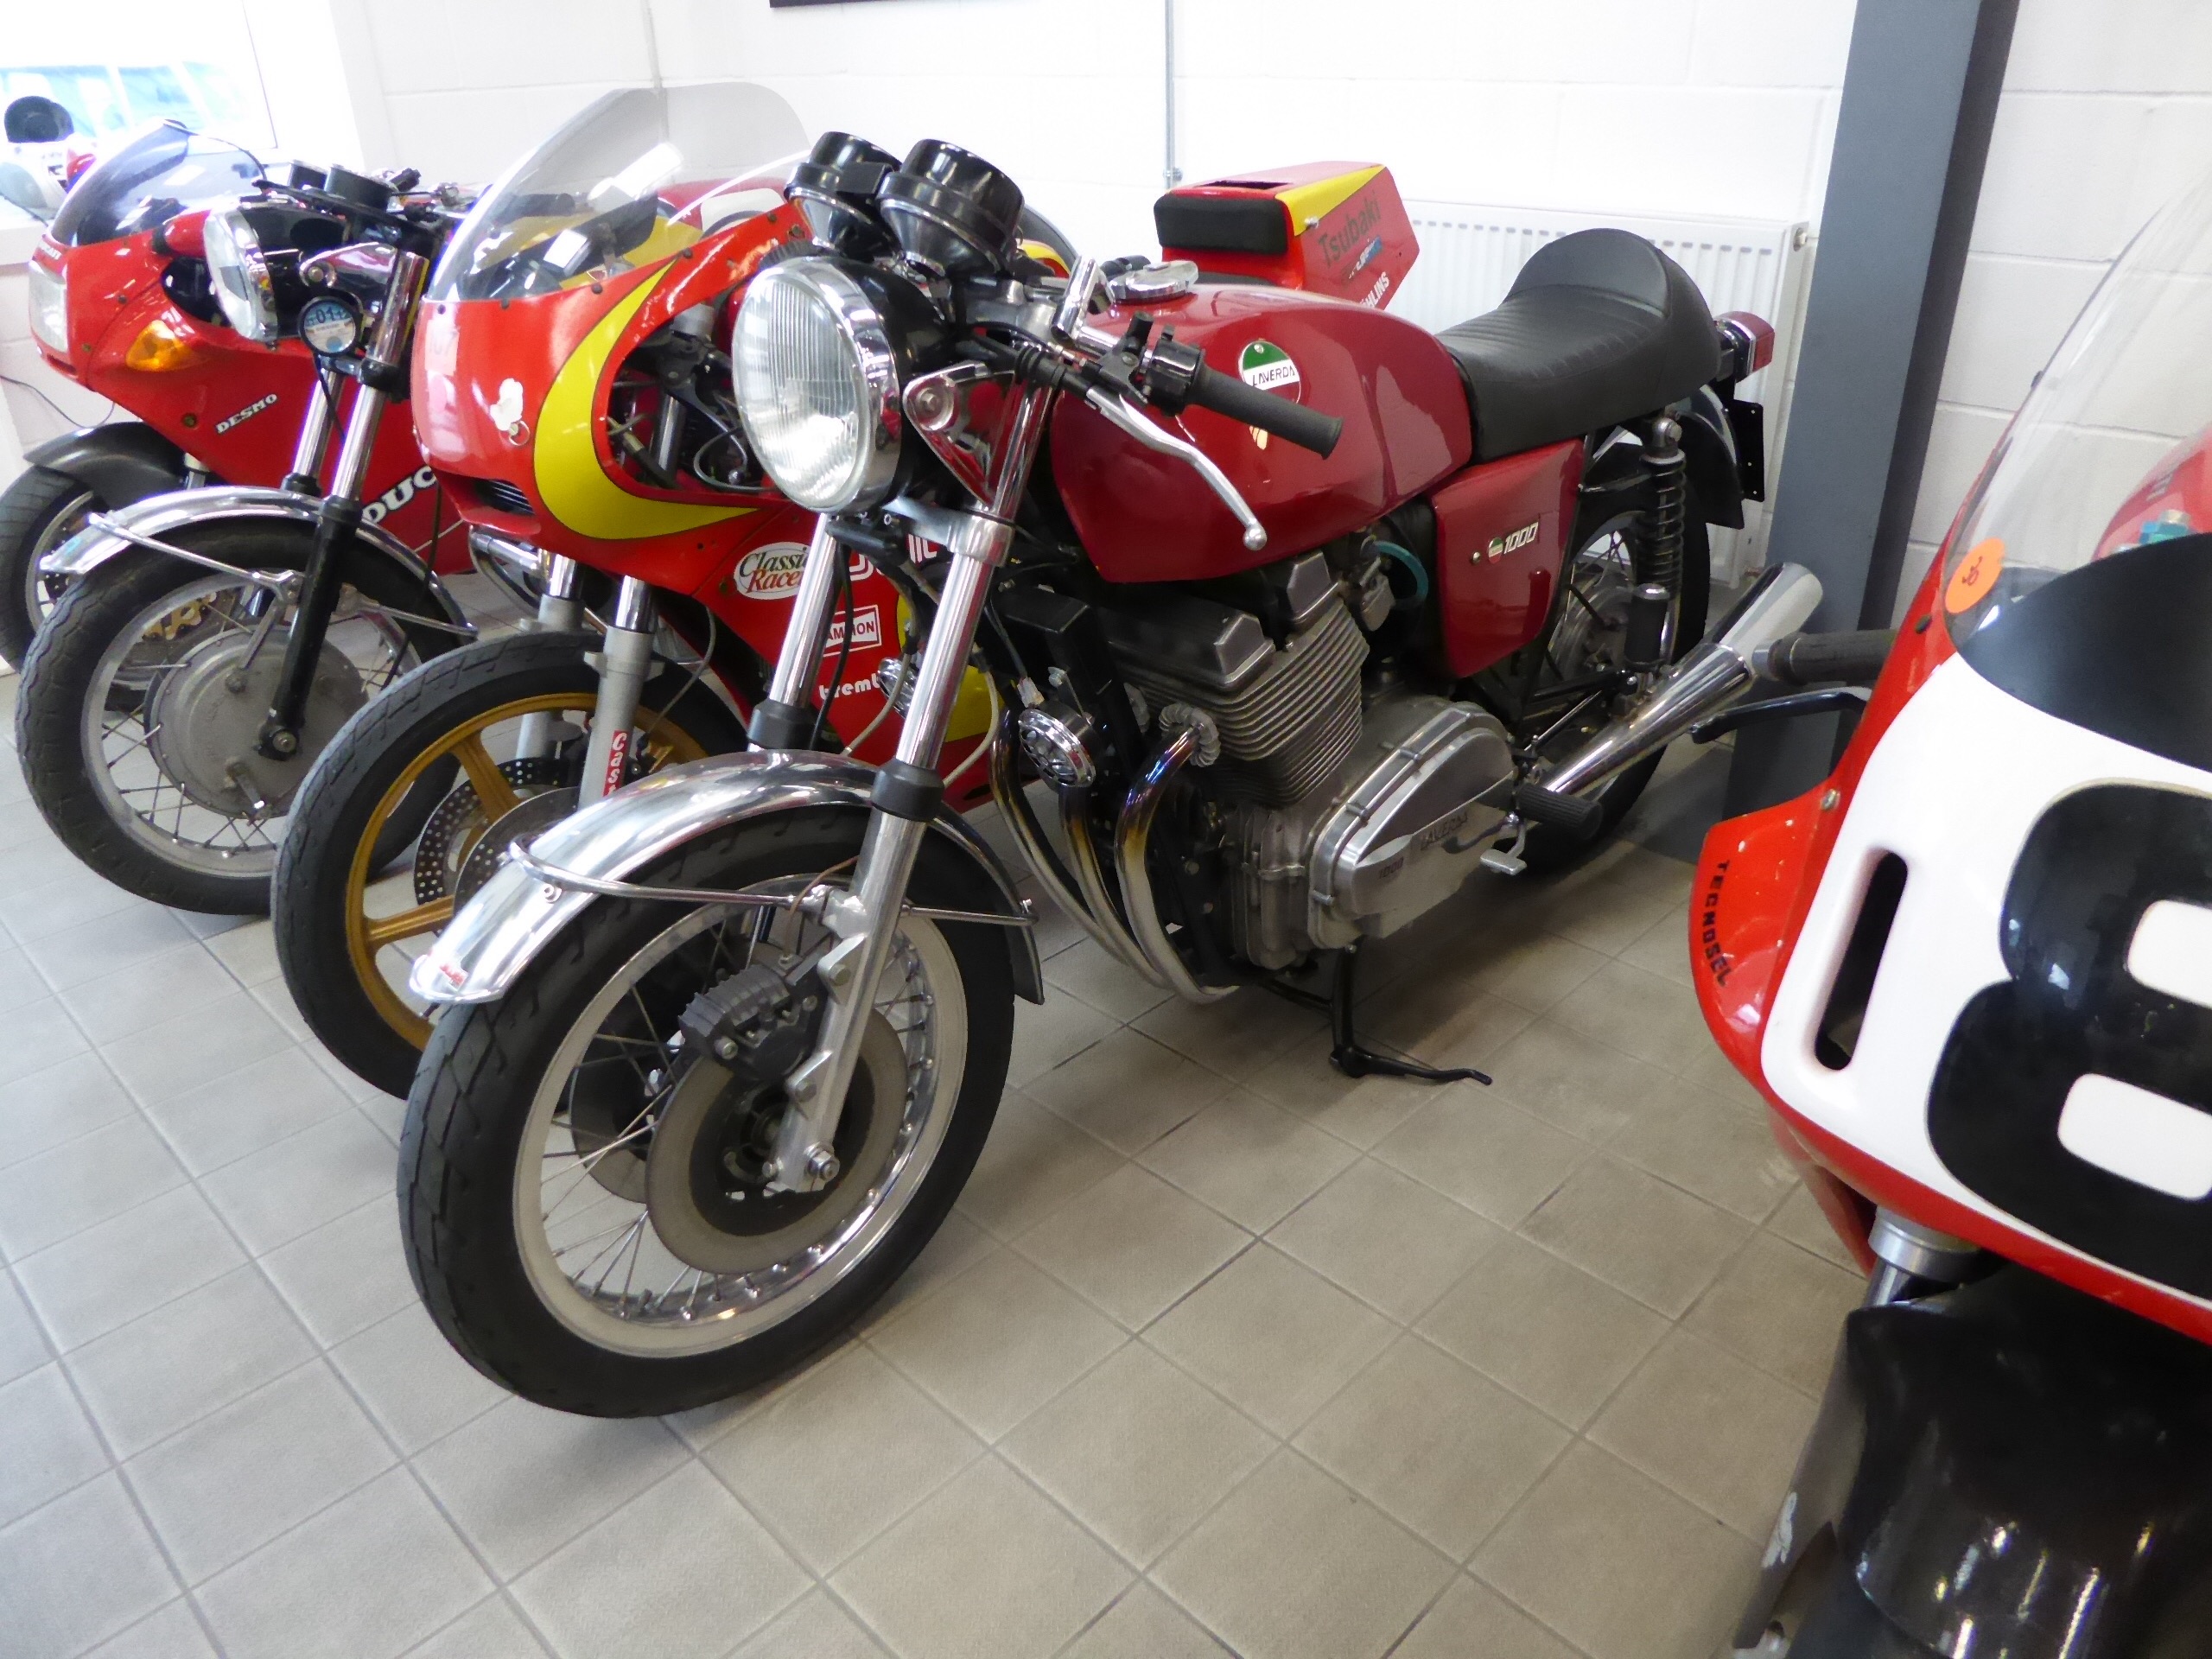
Had the chance to drool over the showroom collection, where there were a couple of Lavs amongst the Ducatis, Guzzis, MVs and Bimotas.
Shame......or maybe just as well I haven't a wedge of cash available!
Let the build begin :D

17178852745_2aa8dd6833_o.jpg


17152755916_e6c884b7d5_o.jpg


17178082591_8aef1fd36a_o.jpg
 
Ppuxley said:
Went up to Stowmarket this morning to meet Nick Marshall and pick up my newly painted frame. He was there loading some nice Italian machinery into a panel van at John Fallon's Made in Italy Motorcycles
Let the build begin :D

Nice frame job. Buy foam pipe insulation and sticky tape now :-)

John Fallon was featured in an article in MCN last week. Interesting stuff. If a little "bikes as investments" as opposed to "bikes to ride" orientated.

But I suppose I'm a bit like King Canute in that respect.

For me, I've gone with black plates for my SF rearsets so started to fit them. Reminding myself to slow down as I'm a bu99er for rushing things and not getting them quite right sometimes. (Especially when I want to be riding, not wrenching)
 
I lay the engine on it's side and lift the frame over it.
Doesn't need any frame protection.
 
Grant said:
I lay the engine on it's side and lift the frame over it.
Doesn't need any frame protection.
I have used the technique myself, before , but this time that isn't going to work, because I've got to get th bike largely reassembled without the engine in and then get the rolling chassis and engine off to Kieth, for him to do the engine rebuild and then install it.
I hope it's going to work like that, because otherwise I can see an impractical number of transits of frame, motor and rebuilt bike between Berkshire and Glasgow!

 
Grant said:
I lay the engine on it's side and lift the frame over it.
Doesn't need any frame protection.

Yebbut, that's 'cos you've done lots of 'em. For most people it's a once or twice in a lifetime job (hopefully).

Rags are better protection, but take ages to tape on and get off again.

And you're probably sober,,,,,and,,,,,,
 
rags will not protect your frame, especially from the lower two engine studs, they will easily tear a rag
you are far better buying a length of clear plastic hose, spilt it length wise, cut and shape to length
wrap over the frame and secure with zip ties, once you have them made you can reuse them 100's of times and they take say 2 minutes to install and probably 30 seconds to remove

 
I've used plastic (polypropylene) spiral wrap, as used on electrical cables and hydraulic hoses etc, with good results. Goes around the bends and you can jump the front engine mount bosses a treat.
No Cable ties or tape required and can be used over and over.
 
redax5 said:
rags will not protect your frame, especially from the lower two engine studs, they will easily tear a rag
you are far better buying a length of clear plastic hose, spilt it length wise, cut and shape to length
wrap over the frame and secure with zip ties, once you have them made you can reuse them 100's of times and they take say 2 minutes to install and probably 30 seconds to remove

I bow to the wossname of the professional thingamadoodles.

Anyway - take care of that nice frame :-)

We once tried using short lengths of split hose to protect abseil ropes........F****** useless! Couldn't pull the ropes through :-D

H.
 
I've found removing the exhaust studs help to give a bit more wiggle room. If the studs come out easily, fine. If it looks like turning into a hairball then let sleeping dogs lie. I also leave the cam cover off until the engine is in the frame.

Tom
 
Exhaust Studs - Break and Wiggle the studs out, clean blow out the head threads with Alcohol - Never Tap the Head Exhaust Threads - Use Never Seize on the Stud threads and a Good Brass Nut to tight down your pipes so that you barely crush the Doughnut Ring with approx 10 Lbs of Torque that 10mm Brass Nut.
 
Harry Lime said:
I bow to the wossname of the professional thingamadoodles.

Anyway - take care of that nice frame :-)

Thanks all, for the advice.as I say, though,  I'm not putting the engine in at present, that's a headache Kieth will have, but I guess he has his own well rehearsed method.
Right now I've just got to get everything else bolted back together ( as far as is possible without the engine in). Even doing this I see plenty of potential for damage, eg getting the swinging arm in with the chain around it, so I will still need to do something
 
20mm black reticulation held on with zip ties. It is thin so still allows plenty of room but is tough and will take a lot of beating/gouging if you get the alignment wrong.
 
Davo said:
20mm black reticulation held on with zip ties. It is thin so still allows plenty of room but is tough and will take a lot of beating/gouging if you get the alignment wrong.
Dave, thanks. What do you call reticulation? Same spiral wrap that Chris is talking about? Or split flexible conduit as used in auto wiring
 
Ppuxley said:
Dave, thanks. What do you call reticulation? Same spiral wrap that Chris is talking about? Or split flexible conduit as used in auto wiring

It's all right Patrick, I speak West Australian.

It is thin plastic polypipe that is used for micro watering systems in the garden.
Not sure if it is as popular here as gardens seem to water themselves in the UK.  :D
 
SimonR501 said:
It's all right Patrick, I speak West Australian.

It is thin plastic polypipe that is used for micro watering systems in the garden.
Not sure if it is as popular here as gardens seem to water themselves in the UK.  :D
Right :D
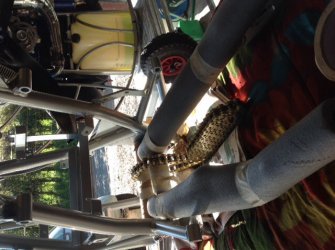
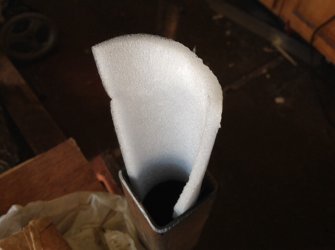
Did this for the S/A, but was thinking I would use the hard white foam elsewhere picking it off where I need to bolt something up as I go
 

Attachments

  • image.jpg
    image.jpg
    110.4 KB · Views: 27
  • image.jpg
    image.jpg
    50.9 KB · Views: 14
Grant said:
Why did you put a cover on the swing arm?
Because I was wrapping the chain round it, I'm sh1t scared of damaging it, I had it to hand and I'm not an expert mechanic whose done it a 100 times before.
I'm sure it's overkill, but I'm not doing this for a living so it really doesn't matter how long it takes me. OK, I don't want to waste money on superfluous protection , but if it's lying around the garage I may as well use it.
 
Back
Top