Cam Chain Shrunk!

You don't have to remove the primary drive sprocket from the left hand end of the crank. If your clutch sprocket is bolted on, just un-bolt it to remove the primary chain. If it's riveted, grind the rivet heads off. In that case, you'll need to tap the rivet holes in the clutch drum to accept bolts. Check out the cush-drive rubbers while you have the sprocket off.
 
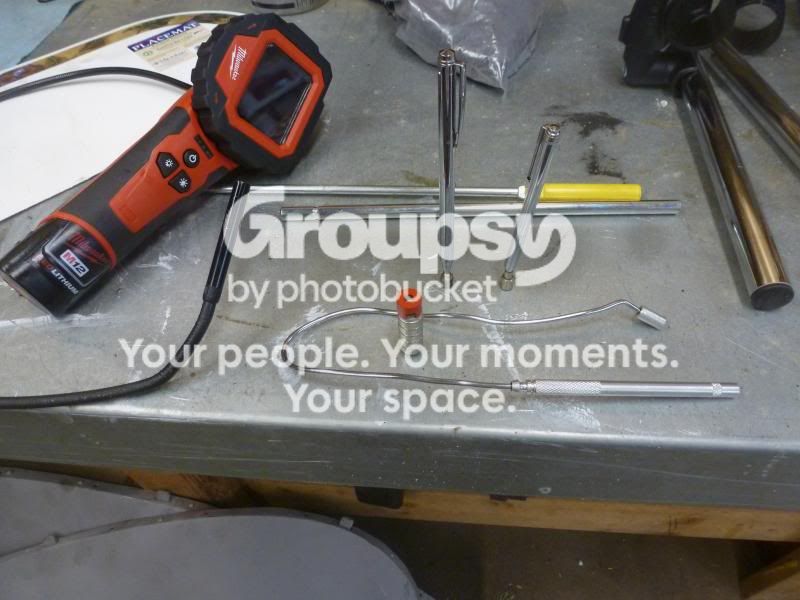
Success!  Finally.  Major magnet on a stick found the little bastard hiding in a corner on the 'shelf/baffle' right below the camchain.  The shelf prevented it from dropping down to the bottom of the sump.  I had swiped a smaller magnet into that corner once before, but it must not have been strong enuf to grab it. 

Anyway...the reassembly can now continue.

:-*

Thanks, everybody, for all the help and encouragement. 
 
Hope you didn't leave a magnet in there, better check. :D

                                            Dave
 
dja981 said:
Hope you didn't leave a magnet in there, better check. :D

                                            Dave
Wouldn't that be the ultimate irony.  Chain plate probably wouldn't have done any harm, anyway, but a magnet could really cause some trouble!

All magnets present and accounted for.

 
I thought a picture of all the magnets and camera I used were in order:

P1010656_zps336234b4.jpg


The camera actually worked pretty well as it found where the bugger was.  Then I had to stack a half dozen magnets together to make a more powerful attractor.

 
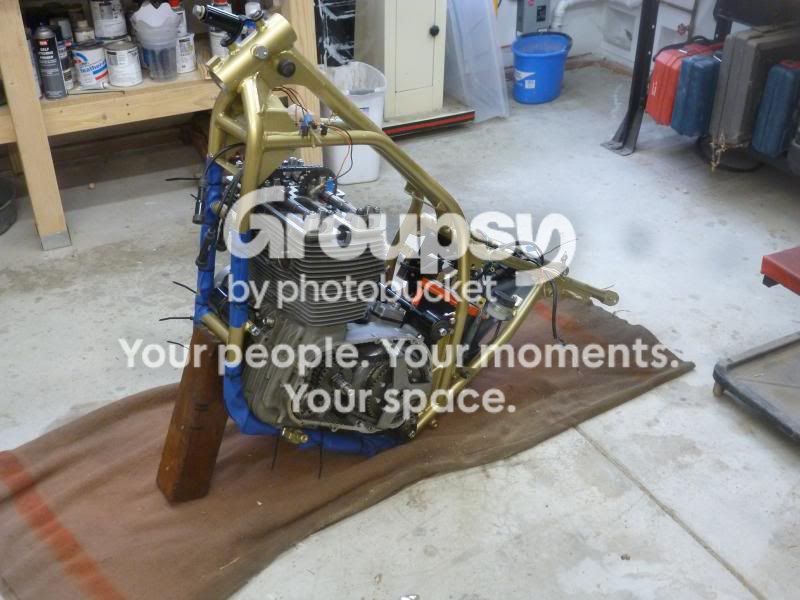
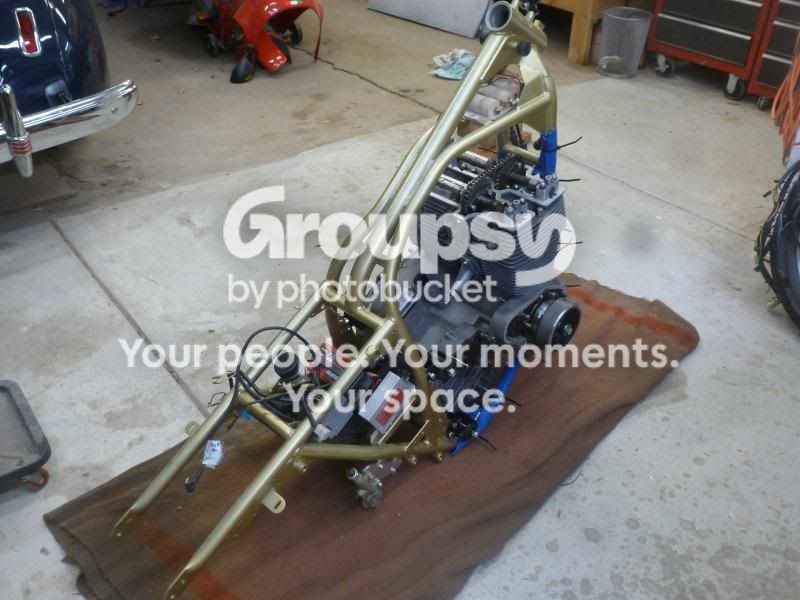
Engine back in!!!!!  Finally. 

P1010657_zps695bb6f9.jpg


P1010658_zpsf5ab49b6.jpg


Seems I recall a thread (couldn't find it) that gave some pointers on what to tighten up first when putting an engine back in.

I've got all the mounts attached (loosely).  Is there a sequence, or can I just start tightening stuff up?

Any advice regarding the centerstand and sidestand going on now, before wheels?

Just trying to simplify my life after the cam chain debacle. :'(

 
chrisk said:
Can the Australian Navy borrow that camera? They need some help ......... MH370 :D

It's their's if they want it.  All I ask is a round trip first class ticket on either Qantas, American, Lufhansa, or British Airways to explain how the complex device works.
 
I would whack the cam, alternator and primary drive covers on before progressing further; don't want to drop anything down the cam tunnel or bend anything ;)
 
You should have put the centrestand on before putting the engine in, I think I advised you as such some months back! :)  (or maybe it was someone else)  Prick of a job now, I'd advise you to tip the whole thing upside down but all the other camchain clips / pistons ring pieces / 11mm spanners will come clattering out of the engine and make a big pile on the floor.  :D
You can probably lean the whole plot forward so the steering head is at ground level and put it on that way.  Make sure the spacers/bushes are present.  To fit the springs put one end in a vice and bend them while stacking coins in the gaps, one way then the other till they are long enough to just slip on.  Flip the stand down and all the coins fall out. 
Engine mounts - no particular order, just progressively tighten them until they all find their happy place.
Cheers
SteveB
 
Love this forum.
been following this thread with some interest as I've just been installing new camchain to SFC1000. Anyway was putting cam cover on and found 1 bolt missing. Thinks 'hmm, surely didnt fall into sump while removing camcover..'.
So reluctantly removed exhaust to remove sump strainer and chain guide. Found chain guide back to front (not me your honour), and exhaust badly needing new copper washers. No cam cover bolt.
moved bike in garage to get into better light. Cambolt was under front wheel.
Anyway, fixed those other things that needed doing..

cheers
 
breganzane said:
You should have put the centrestand on before putting the engine in, I think I advised you as such some months back! :)  (or maybe it was someone else) 
Cheers
SteveB

If I told you once, I told you a thousand times!  :D
 
I agree..get the covers on the engine and most importantly, some duct tape over the intake and exhaust ports. No more fishing expeditions looking for random bits in the engine.
Laverda+engine.jpg
 
Good job you have read "zen and the art of motorcycle maintenance" a few times. Judging by your work area you are one of those organised types.
Say what does the tail light and blue fender belong to...just not enough of it in the shot to make it out.
 
breganzane said:
You should have put the centrestand on before putting the engine in, I think I advised you as such some months back! :)  (or maybe it was someone else)  Prick of a job now, I'd advise you to tip the whole thing upside down but all the other camchain clips / pistons ring pieces / 11mm spanners will come clattering out of the engine and make a big pile on the floor.  :D
You can probably lean the whole plot forward so the steering head is at ground level and put it on that way.  Make sure the spacers/bushes are present.  To fit the springs put one end in a vice and bend them while stacking coins in the gaps, one way then the other till they are long enough to just slip on.  Flip the stand down and all the coins fall out. 
Engine mounts - no particular order, just progressively tighten them until they all find their happy place.
Cheers
SteveB
I thought someone told me something I would forget.  Glad I asked.  Easier now, then when everything is on, though.

 
Brett said:
Good job you have read "zen and the art of motorcycle maintenance" a few times. Judging by your work area you are one of those organised types.
Say what does the tail light and blue fender belong to...just not enough of it in the shot to make it out.

1941 Lincoln Continental Coupe.
 
Back
Top