<snip> are you essentially agreeing that it shouldn’t be an issue to limit the power the bikes make in wet conditions and also make them run on treaded tyres?
 that. Plus "and just get on with it like we did in years gone by".

<snip> are you essentially agreeing that it shouldn’t be an issue to limit the power the bikes make in wet conditions and also make them run on treaded tyres?
that. Plus "and just get on with it like we did in years gone by".Bought me one of these while on special offer, Paul.More Breganze prep... Spent (too much) time getting a fossilised BT45 off the rear wheel of the Jota. Bloody hell it was hard work. I need more time in the gym,. Tyre stuck fast, being extremely tight around the seat circumference. All my bead breaking techniques failed, so I was reduced to slicing through both side walls (steak knife), removing the tread, and then Dremel-grinding through the bead wires. Wasn't too difficult in the end, pretty easy actually - should have started that way. Now to get the new BT46 on, hoping that recent/supple rubber should be a doddle by comparison. BTW - I'm tubeless and all my local shops fitters now refuse to fit a tubeless tyre on a 'tubed' rim, miserable buggers.
Pass the lube dear!


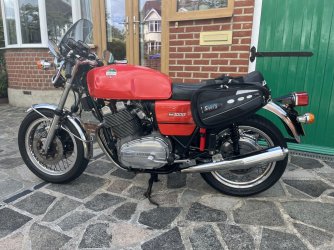

What a great adventure to have returning again after all those years Hamish,......mightily impressed and slightly envious! bikes looking great and we look forward to hearing your story.......Safe travels smiles and miles.Soft luggage bars fitted. Couple of straps to shorten, an oil change, then check the tyres, light the fires, Breganze, here we come.
Forty-four years after we first rode down there.
View attachment 90443
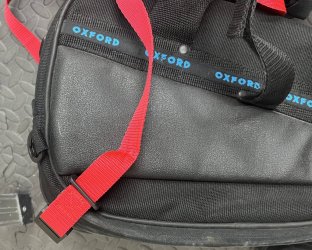
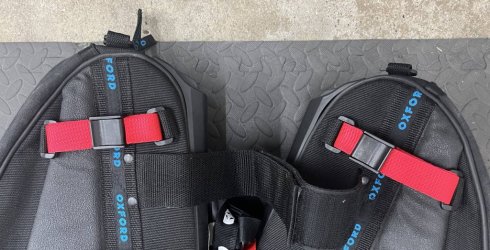
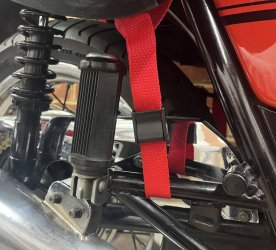
Securing strap, Vince, which I have to shorten a little. there are a couple at the back, too.What's that red thing in front and below the panniers, Enjoy, looks well good.

Mine are strapped at the front to the frame triangle/exhaust hanger triangles, PVC taped to protect paint, Q.I'm making up a protector frame for my throw-over bags. I can't work out for the life of me how I'm supposed to strap them in at the bottom to stop the flop. I'll make it up as I go along. Got the rubber netting to go under my mag tank bag fitted -0 seems to hold it a lot firmer than without and hopefully no scratchies on the Q's tank.
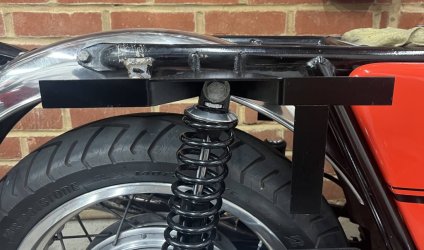
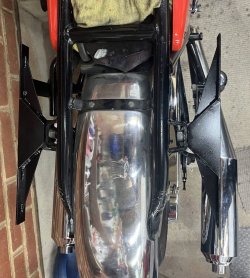


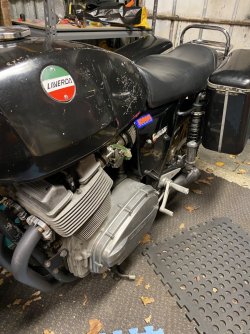

Liam at Bluecoat Engineering, not particularly cheap but very good, reasonably quick and very easy to work with.ps it wasn't me who made the protectors, nice job, nicely gusseted to take out any flex, who made them for you H? I would gladly recomend him when I get asked to do stuff like this since I cant be arsed myself these days
CLEM
SFQ is remaining grubby after the wet Walkerville run. Looking fwd to a bit of dirt1 Cold but clear and dry I'm hoping Prez. See you at YG.Ready for the squirt up to Yea tmorra…..Cathedral of Moto Guzzi! should be some bite in the air! Single digits forecast
Bit of dirt trackin so the ole nail gets the gig
View attachment 90453
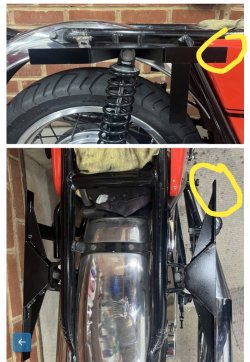
I,initially, intended to round them off, Paul, but Bluecoat, bless 'em, had rounded all the edges so nothing is sharp.Hi Hamish
Just a thought pal; are you able to put a rubber 'blunt thingie' over this area?
View attachment 90455
I'm thinking that if you were clobbered from behind (ooh eer missus), then that forward pointing area could spear the back of your legs (as the bike flies forward, whilst you stay still).
May also stop the corners digging in to your bags?
Paul