Bare Naked SFC1000

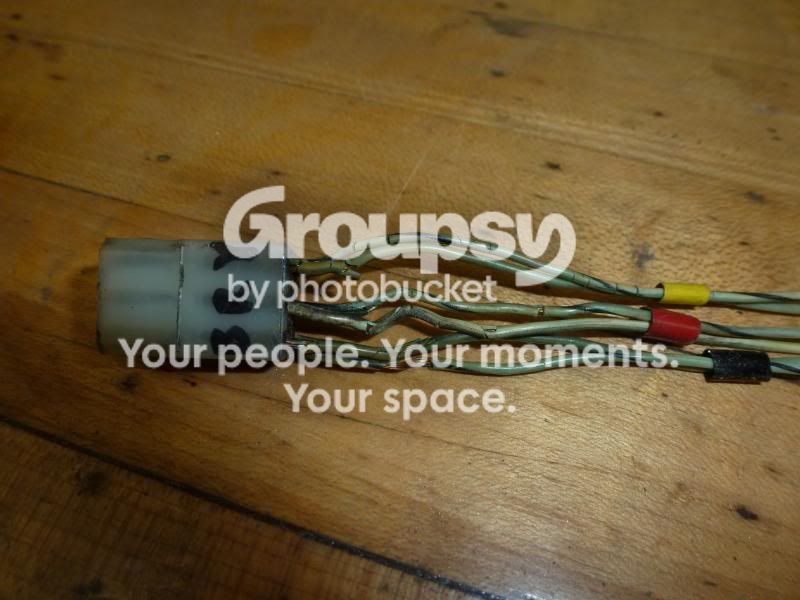
So, as I dig deeper into this restoration I find more wires with cracked insulation.  This is the plug that connects the ignition pickups to the harness.  Pretty grim.  I hope my insurance company isn't monitoring this thread!
P1010082_zps70eeca7f.jpg


So, as recommended above, I have cut the wires from the pickups at a point after they exit the engine and enter the orange-ish wrapping.  I then butt-spliced soldered the old wires to some new wire and heat shrinked it with the black-red-yellow colors for each pick up that came from the factory.  

P1010081_zps87206060.jpg


I could not find the correct white wire with the black tracer that was originally on the bike, so I opted for green.
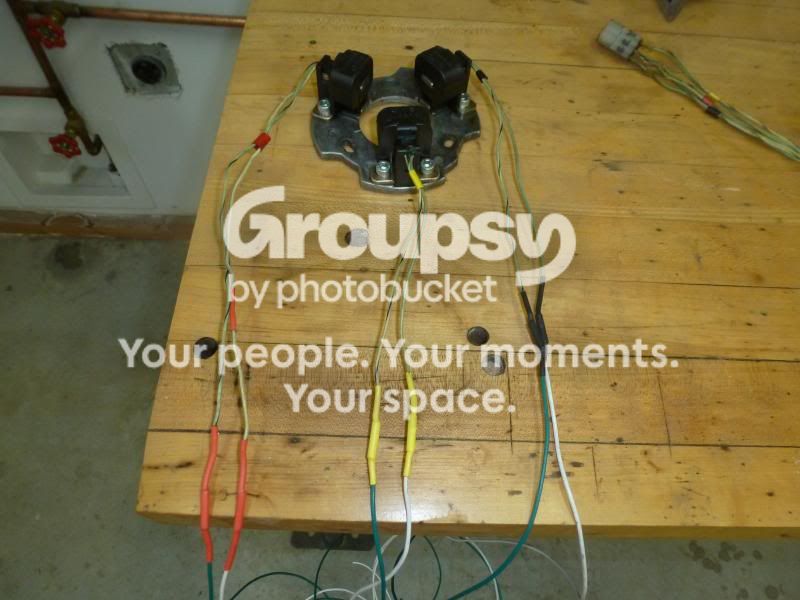
P1010083_zps85280236.jpg


Next step is to cover the whole lot with new orange-ish wrapping and fix a new Molex female to the other end that goes to the black box.

I've also decided to put a new wiring loom on since I don't know how many other wires have cracked insulation that I have not found.

More to come.

BTW, that hard maple workbench top was my grandfather's, a tool and die maker from Toledo, OH.

 
What a bummer,I sold a brand new set of three pickups and harness on Ebay last august they only fetched ?20,Says something about how desirable they are  :D :D :D.Still it shows there are still new old stock ones out there somewhere.
Neale
 
nealebms said:
What a bummer,I sold a brand new set of three pickups and harness on Ebay last august they only fetched ?20,Says something about how desirable they are  :D :D :D.Still it shows there are still new old stock ones out there somewhere.
Neale

Or how many people have Witt and Sasche ignitions and still have the old pickups sitting around.
 
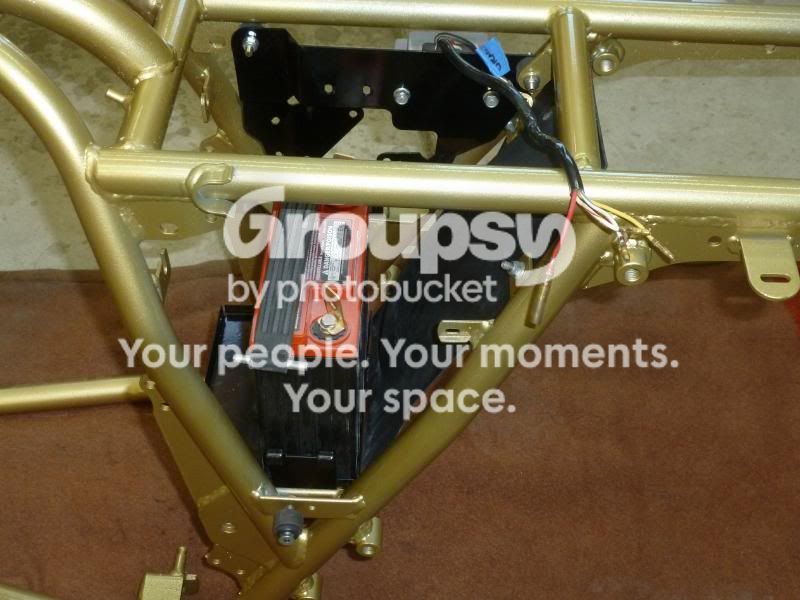
Well, this project started because I needed to install the battery support.  Got it in!

P1010084_zps35592d10.jpg


Battery strap is too short.  Have to get a longer one...

Now, if I could just remember where all the other bits go.... :D
 
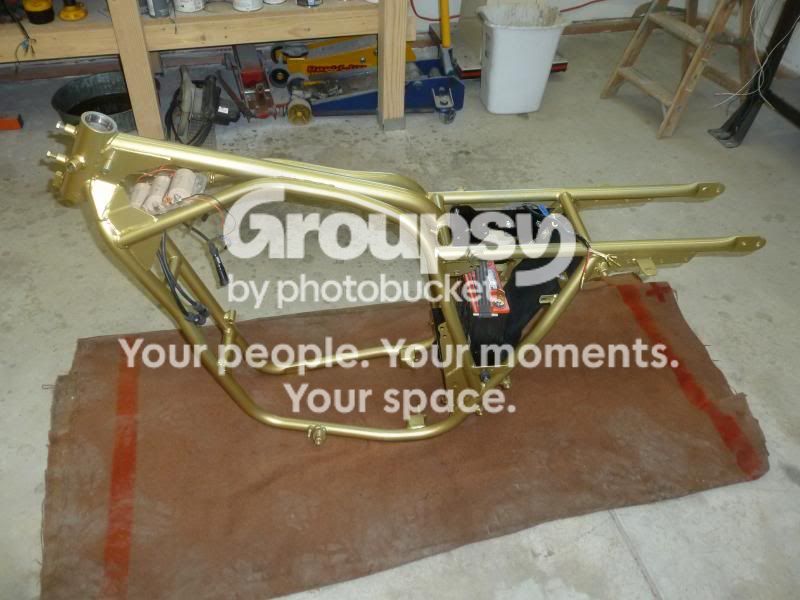
Here she is from further out...

P1010085_zpseb978db9.jpg


If anybody has suggestions on the sequence of assembly to make things easier....please do not hesitate to chime in. 

When I get the motor back together I plan to lay it on the floor next to the frame on it's side and ease the frame over the motor.  Hook up the motor mounts and rotate the frame and engine back to vertical. 

Does it matter which side I do this from?
 
Simon
That's why I sold the new ones after I sold the old ones,as I fitted sachse systems to the RGS and SFC years ago and  would no longer ever them.
Neale
 
Start with the centre stand, and sidestand (good luck with the spring!).  The 120 engines go in quite easily due to all the space created by the rubber mounts.

Regarding the main wiring harness, it does not exhibit the same degradation issues as the ignition pickup wires and should be fine.  Check the condition of the plugs between alternator and regulator, and also each of the handlebar switch multipin connectors for heat related damage.  If they're ok then it should be fine.  Make sure you've got good earths on your new painted frame.

In terms of an upgrade, a blade type fuse block is easily substituted and is more reliable. The only other common upgrade required is to run some relays for the headlight.

Cheers
Steve
 
breganzane said:
Start with the centre stand, and sidestand (good luck with the spring!).  The 120 engines go in quite easily due to all the space created by the rubber mounts.

Regarding the main wiring harness, it does not exhibit the same degradation issues as the ignition pickup wires and should be fine.  Check the condition of the plugs between alternator and regulator, and also each of the handlebar switch multipin connectors for heat related damage.  If they're ok then it should be fine.  Make sure you've got good earths on your new painted frame.

In terms of an upgrade, a blade type fuse block is easily substituted and is more reliable. The only other common upgrade required is to run some relays for the headlight.

Cheers
Steve

Put the centerstand and side stand on before the engine goes in? 
Does it matter which side of the frame the engine goes in from?
 
Definitely put the centre stand on before the engine, especially if you have new springs.

Easiest if the engine is lying on the "flattest" side and preferably raised up a bit on a block. Also helps to have 2 people manouvering the frame to help avoid scrathes in the nice new paint.
 
Davo said:
Definitely put the centre stand on before the engine, especially if you have new springs.

Easiest if the engine is lying on the "flattest" side and preferably raised up a bit on a block. Also helps to have 2 people manouvering the frame to help avoid scrathes in the nice new paint.

I got a good idea from another for the paint scratches issue.  Cover the frame with tygon tubing in areas most likely to be scratched.  Brilliant.
 
Davo said:
Easiest if the engine is lying on the "flattest" side and preferably raised up a bit on a block. Also helps to have 2 people manouvering the frame to help avoid scrathes in the nice new paint.

Nah, it's a 120, you don't need to prat about with dropping the frame over the engine, it's straightforward enough to lift the engine in the frame. And you want to get the sidestand on before the engine goes in.

It does help to have a willing assistant though, it is a muckle lump of an engine for an office jockey to lob around.

Do like the paint, do you have a code for that gold?
 
sfc1000uk said:
Nah, it's a 120, you don't need to prat about with dropping the frame over the engine, it's straightforward enough to lift the engine in the frame. And you want to get the sidestand on before the engine goes in.

It does help to have a willing assistant though, it is a muckle lump of an engine for an office jockey to lob around.

Do like the paint, do you have a code for that gold?

I do and it's a perfect match.  Want it?  :D
 
The color is a custom blend that was matched to a part of the frame that had not faded over the years (just in case other more exposed areas had faded). I would share it but I just read the label and it is copyrighted.  So, if I publish it here on the forum I would expect black Suburbans to show up at my door to take me away....or worse.
 
Damn, and you're on the wrong continent for me to just buy some paint from them.

Oh well, given it was a custom blend anyway I'll just (when I get round to it) use the bloke here that Keith uses - if it had been a readily available paint I'd have bought some and got herself to abuse the facilities* at college.

Bob

* the college have a spray booth for lacquering furniture.
 
Terry Dymond said:
Bad case of deja vu there, my shed looked the same when I painted all the brackets when I rebuilt my RGS.
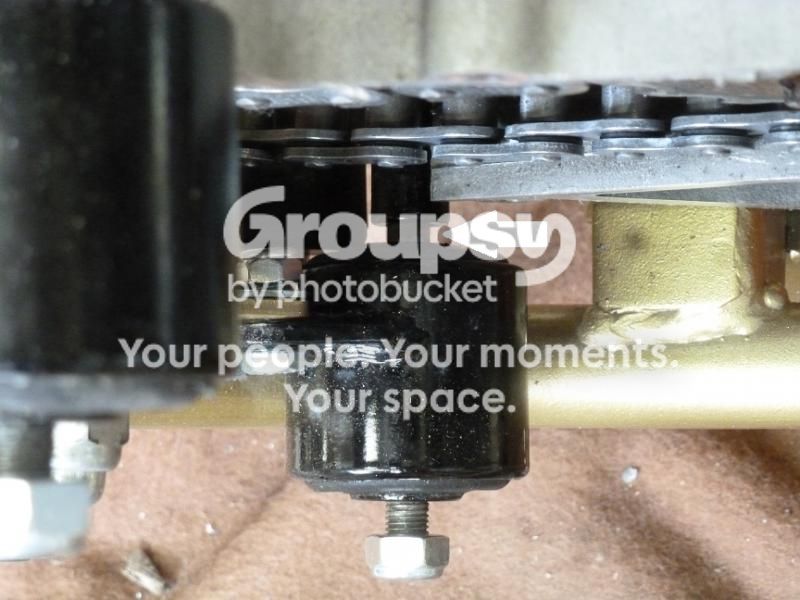
Word of warning though; when remounting the lower rear engine mount to the engine (the one hanging behind the resilient mount on the right hand side), make sure that it is a snug fit against the engine cases otherwise you run the risk of breaking the bracket (been there, done that). I had a bit of play between the bracket and cases and shimmed up the gap to make sure there wasn't any force put on the bracket.
Same goes for the front mounts, the cross brace just below the lugs prevents any spring in the frame which could put a lot of unwanted load on the lugs if there is a gap between the resilient mounts and frame.
Hope that makes sense is is of use.

Terry

Terry,

Makes sense.  Is the arrow pointing to the the gap you were speaking of?  If so, is this what needs shimming?

RearEngineMountGap_zps6473ada5.jpg
 
Back
Top