

sideshow
Hero member
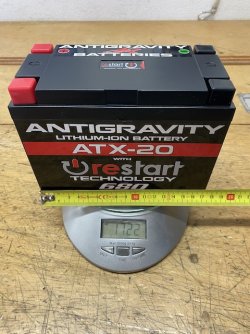
So the battery arrived, its so damn light. I have given it to people to hold, and they all expect it to be 12 kg or there about, so when i place it in their hands, their hands bounce up under an unexpected light weight... hope I explained myself well, there. The battery is a shade under 175 mm wide, 85 mm deep and 130 tall. You can just make out on the scales its 1722 grams , which is 1.72.2 kg .Insane!
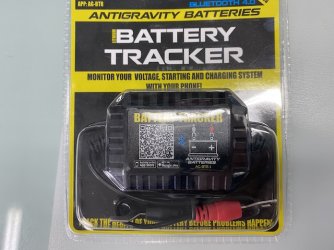
Im putting one of Antigravity's battery trackers on it too...it requires an app, but lets you know the battery health when you come within 10 meters of the bike. these batteries are a big investment, so its good to know if something is up with it, as the battery tells you via message. Along with a whole pile of other tech data.
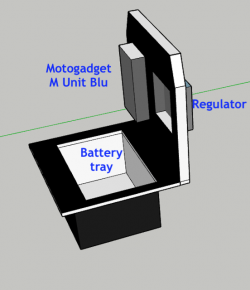
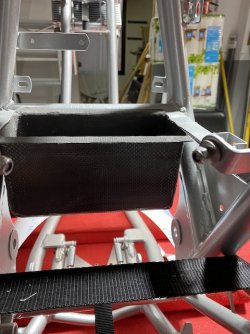
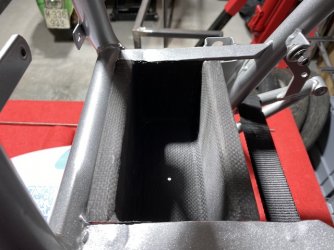
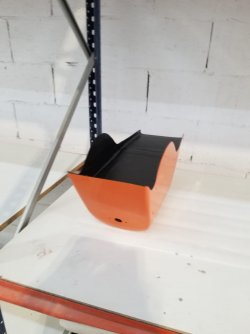
I mocked up quickly on google sketch up the idea for the combined battery tray and electrical bulk head. I didn't worry too much about keeping it in scale, the bulk head will be around 3-4 mm thick, and the box that slips into the tray will be 2mm thick carbon. We have already made a proto type box, its pretty rough, and will have more care taken over the final one. this box will slide in to the cut out in the electrical bulkhead cut out, this was made for an AGM battery which would have stood about 75 mm above the original battery tray rails, but now I have the Anti gravity battery, i can lay that on its side, and I may well be able to keep it below that level , to hide it completely, Im checking this out when I get home tonight . There will be a lip all the way around the battery tray, for it to sit on the corresponding part of the electrical bulkhead. The reason Im doing this is so I can use the original tabs on the frame to hold the bulk head unit in place, which means the battery tray part of the bulk head won't need fastenings through it on the old battery tray rails. The regulator will be facing forward of the bulkhead in the fresh air, with the wiring coming through to sit by the M unit on the back face of the bulk head, which then leaves space for all the other wiring loom connections, fuses, to the M unit and battery.To cover all the electrics there will be a shield kind of like a box lid, that will extend out from the electrical bulkhead which will be fastened down with tamper proof fasteners. That will pretty much hide everything from sight and give no public access to any wires, It will also cover the battery terminals.
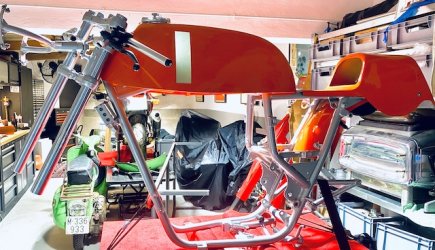
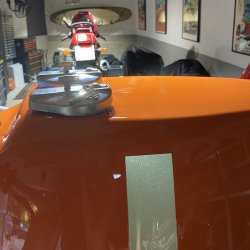
This is so much fun to be doing this sort of thing, Im not a gadget fan boy, but the tech available for me to be able to do the things that I am with this bike, is pretty cool. And its so intuitive and basic that I can do it myself which is a huge bonus, of not having to pay someone else to do it. So within my skill level, I get to own a few of the jobs on this bike as being done by myself.


 but a flat battery is not one of them.




 :-*