Building my Jota

Dellortoman said:
It's a bit of a memory stretch, but I think it was Hitchhiker that dropped anchor near me in Macona Inlet (Hook Island) in 1990. I dunno how much that boat draws, but the spot where the skipper anchored wasn't deep enough. As the tide went out she settled on the bottom and started to heel over. The tide kept going out and she ended up almost lying on her side. Some of the tourists on board were getting rather alarmed and panicky as the boat kept leaning further as the tide went out. I dunno who the skipper was, but he didn't appreciate our helpful comments shouted across the water  :D

It re-floated OK on the incoming tide. The skipper pulled anchor and pissed off as soon as he had enough water, presumably to avoid further 'advice' from other boats anchored nearby in the deeper part of the channel. I'd have thought a professional skipper would have been better at reading charts and tide tables. There must have been a dozen other boats in the inlet, and we were all anchored in deeper water.

Hmmmm not sure it would have been 1990.  Alby had Coralita then , until 1991 , when there was an explosion in the engine room which sank her, quite a bit of scandal , people thought it was an insurance job, 20 years later it was found it could have been a pissed off compettitor.
I?m not sure when hitchhiker started, but definitely it would have been until 1992
 
Lots of boats share names. I did a Codhole trip on Coralita once, nice old boat. I have know Evan since he caretook (?) the Norman Reef GA pontoon. I got him in as my relief at Jardines, and he got a run there. Great people, as you say. Last I hear he was delivering provisions, had all his tickets taken away due to colour blindness, bloody hard to take. Yep, my wife was also a tourist divemaster then instructor, but although we didn't meet in diving I got into boat work through her. The first boats I worked on were a cat that had been built to ferry people across the gap after the big bridge collapse in Tassie, the very first of Incat, Divers Den refitted it as a liveabard. The other was one Lee  Marvin used to charter when he was marlin fishing. Getting a bit sidetracked from the Jota build here though, but I think Todd works in boats.
 
Loving the history and Vegemite tales here! Just back home from no-internet-land down Wilsons Prom way for a day or two before returning until the 3rd.

The Beast is looking sensational, Todd. Motor in!! Hoping to work on the SFQ tomoz - been untouched for over four weeks  >:(

No probs with orange on that bike, Todd! What's the rear disc spoked hub BTW?
 
Tippie said:
Lots of boats share names. I did a Codhole trip on Coralita once, nice old boat. I have know Evan since he caretook (?) the Norman Reef GA pontoon. I got him in as my relief at Jardines, and he got a run there. Great people, as you say. Last I hear he was delivering provisions, had all his tickets taken away due to colour blindness, bloody hard to take. Yep, my wife was also a tourist divemaster then instructor, but although we didn't meet in diving I got into boat work through her. The first boats I worked on were a cat that had been built to ferry people across the gap after the big bridge collapse in Tassie, the very first of Incat, Divers Den refitted it as a liveabard. The other was one Lee  Marvin used to charter when he was marlin fishing. Getting a bit sidetracked from the Jota build here though, but I think Todd works in boats.

wow small world... Glad to hear Ev was still about... gutted for his colour blindness, he is a really cool guy, was a bit of a hero to me in my time there.

When you are next in Spain let me know, I will come over for a cuppa and catch up.

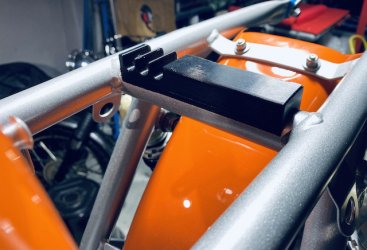
More Jota pictures will follow tomorrow, Im madly 3 d printing the seat supports that conduct the wiring at the moment,
As the battery will be in the seat hump, I want the cables hidden , and with how the seat angle is that I want, I have the cables going over the  cross bar that the seat would normally rest on.  You can see the athwart ships one in the photo below, Im now printing the 4 fore and aft ones.
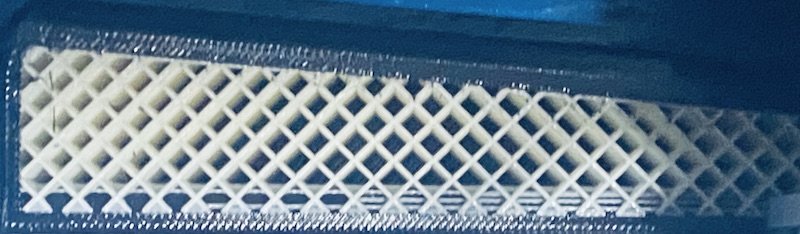
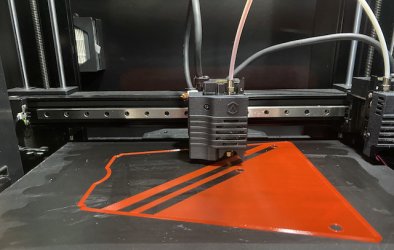
Im printing in TPU, the black rubber like material on the outside, with ASA  inside, makes them flexible on the outside, strong under compression on the inside, and tops wires from getting crushed , the second photo is on the print bed now, you can see it has 30% infill, with the TPU all around the outside, this one has  3 hours to go... this one is a 16 hour print. This is the aft right hand side, Its a little longer than the fore ones will be, as the floor in the seat hump needs a bit of support, its pretty light. so this will help. That said the whole battery and battery bracket is less than 2kg.
 

Attachments

  • wire guide.jpeg
    wire guide.jpeg
    113.6 KB · Views: 187
  • inside .jpeg
    inside .jpeg
    95.7 KB · Views: 182
Dellortoman said:
3D printing - that's cheating!  ;)
It's all hacksaw and file work in my shed.


Hi Cam..... just for you... files :D :D :D :D :D :D :D :D :D :D :D

I actually got the printer so I could design all sorts of things that I don't have the milling machines or lathes to make, I can use a mates lathe. But i also wanted to learn how to use Cad, and be able to create 3 d files to print, and rapid photo type things. By me designing, drawing and printing, I can come up with solutions for clients, then I just send the .stl files off to have them milled up. It saves me paying someone else and loosing the IP to my designs and speeds things up.

Since I got the printer its been running 12 hours a day printing jobs for clients and i then sneak in the odd job for me.

It lets me do things that you can do with other tools.... but I do know how to use a file. And i love being a smart ass, And i liked your comments! Getting shit is good for character building... :LOL: :LOL: :LOL: :LOL: :LOL: :LOL: 8)
 

Attachments

  • files.jpeg
    files.jpeg
    159.6 KB · Views: 239
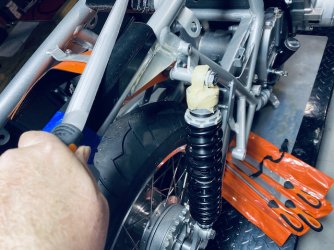
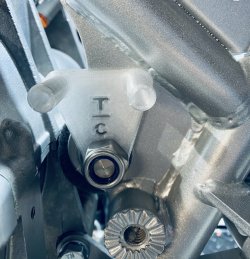
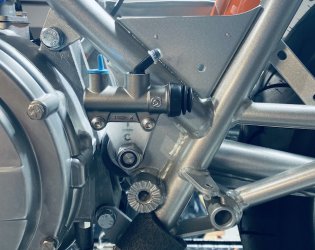
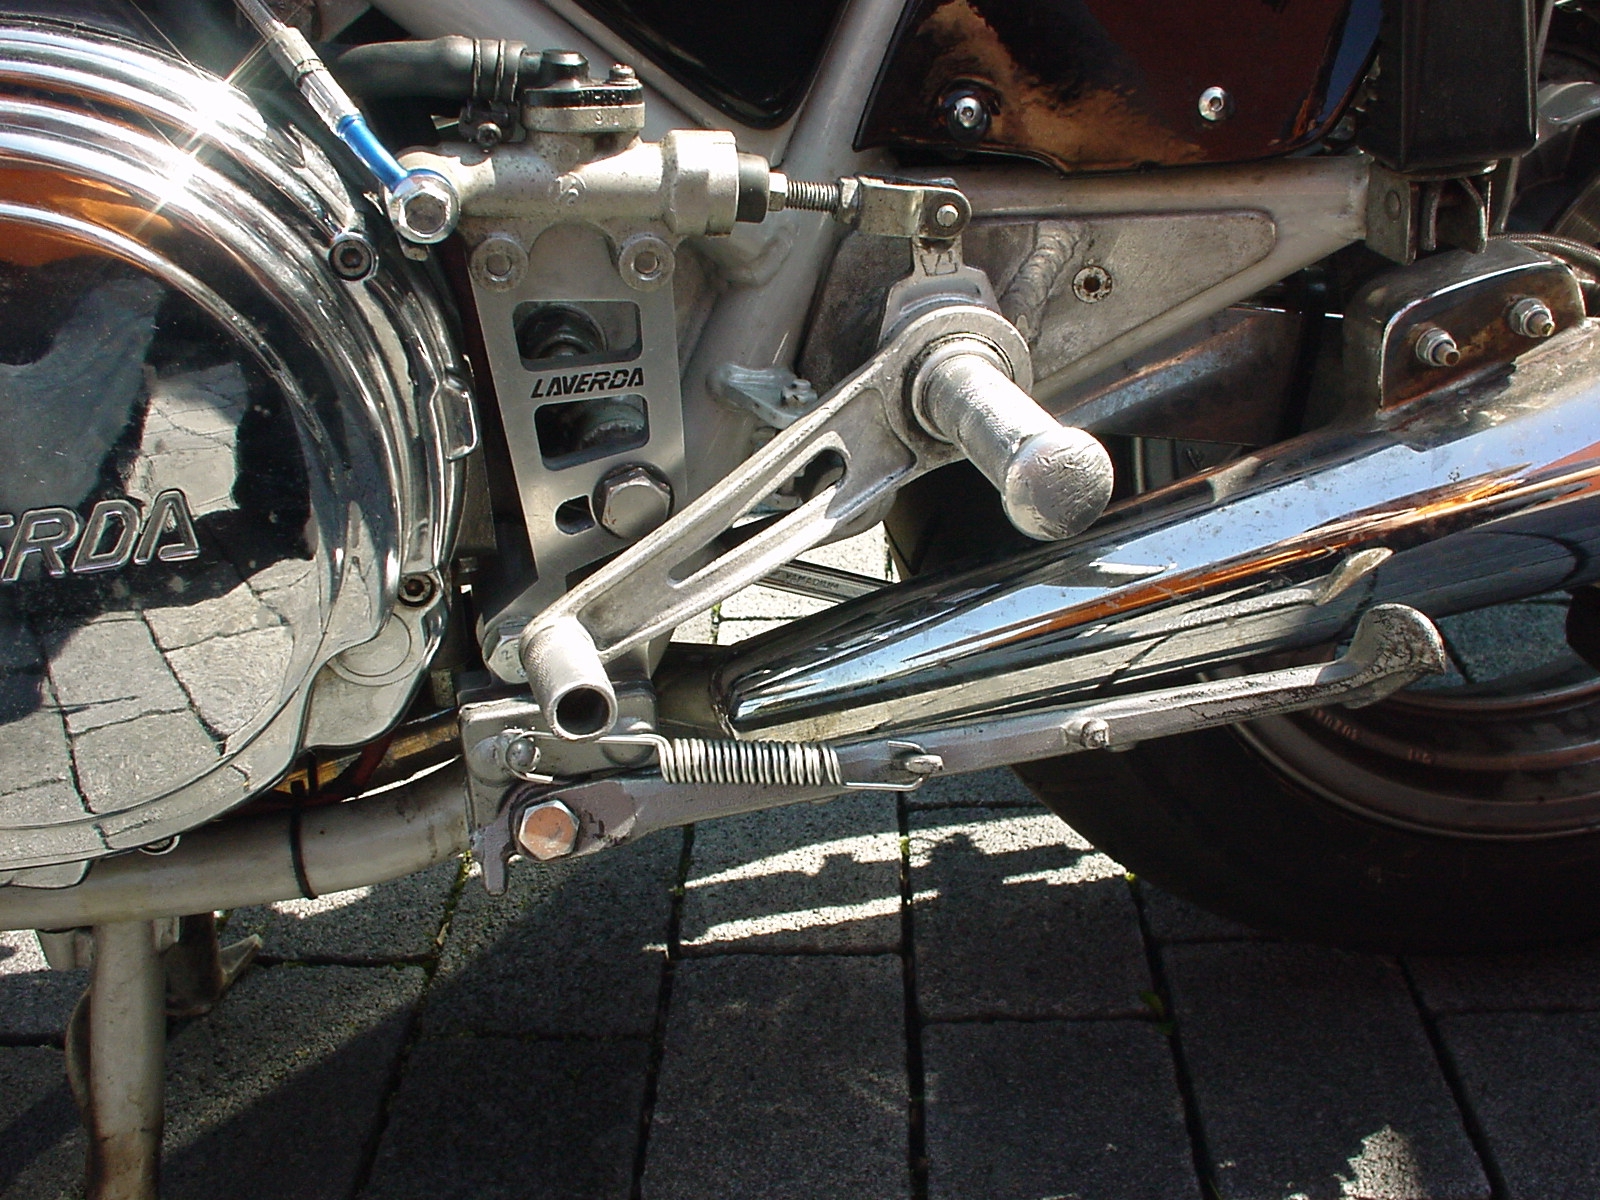
Trawling through loads of photos online, I saw Red did a really cool rear brake master cylinder bracket, I loved it, but as I had already powder coated my frame , I didnt want to drill holes oil it as one of the anchor points to stop rotation around the swing arm spindle, I have come up with something a little different.


This one in the photo is version one, I will add a leg to this one, that drops down vertically and butts up on the old foot peg mount, this will stop the rotation when the brake pedal is pushed and stops me drilling a hole. I might not have explained this well, but the photos in a day or two should do.

This version I printed in Polycarbonate, i looks pretty cool. Later tonight after everyone crashes from celebrations I will break out the lap top and draw up version two, and print it at work tomorrow. I will see if it looks good, do any changes and then get this machine up too.

Hope you  dont  mind me using your  idea Red, I have built on it for my purposes, but the original from Red is genius.


Attachments

  • Brake 1.jpeg
    Brake 1.jpeg
    180.9 KB · Views: 243
  • brake2.jpeg
    brake2.jpeg
    146.4 KB · Views: 245
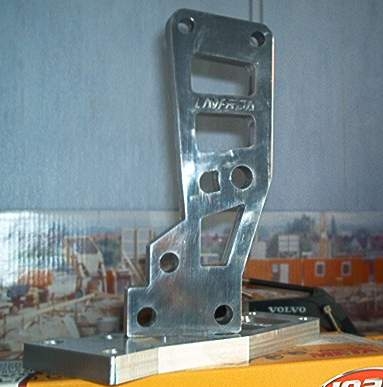
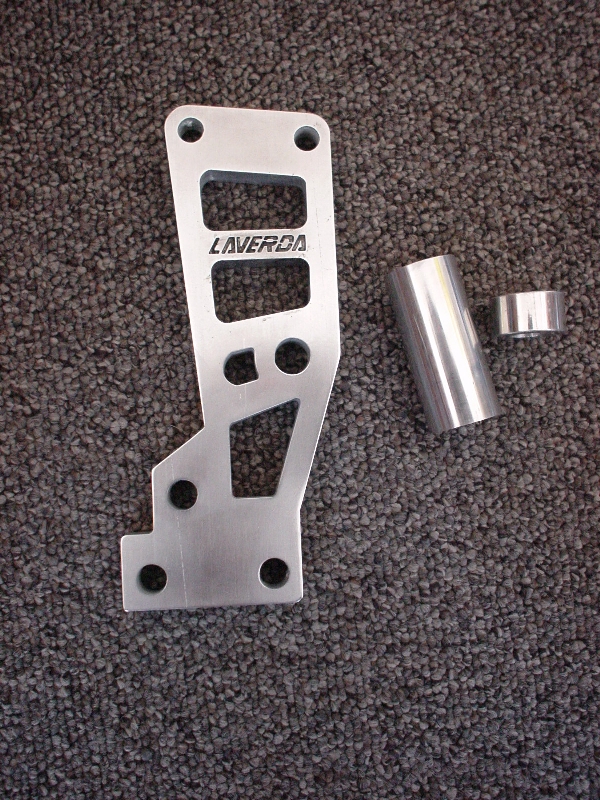
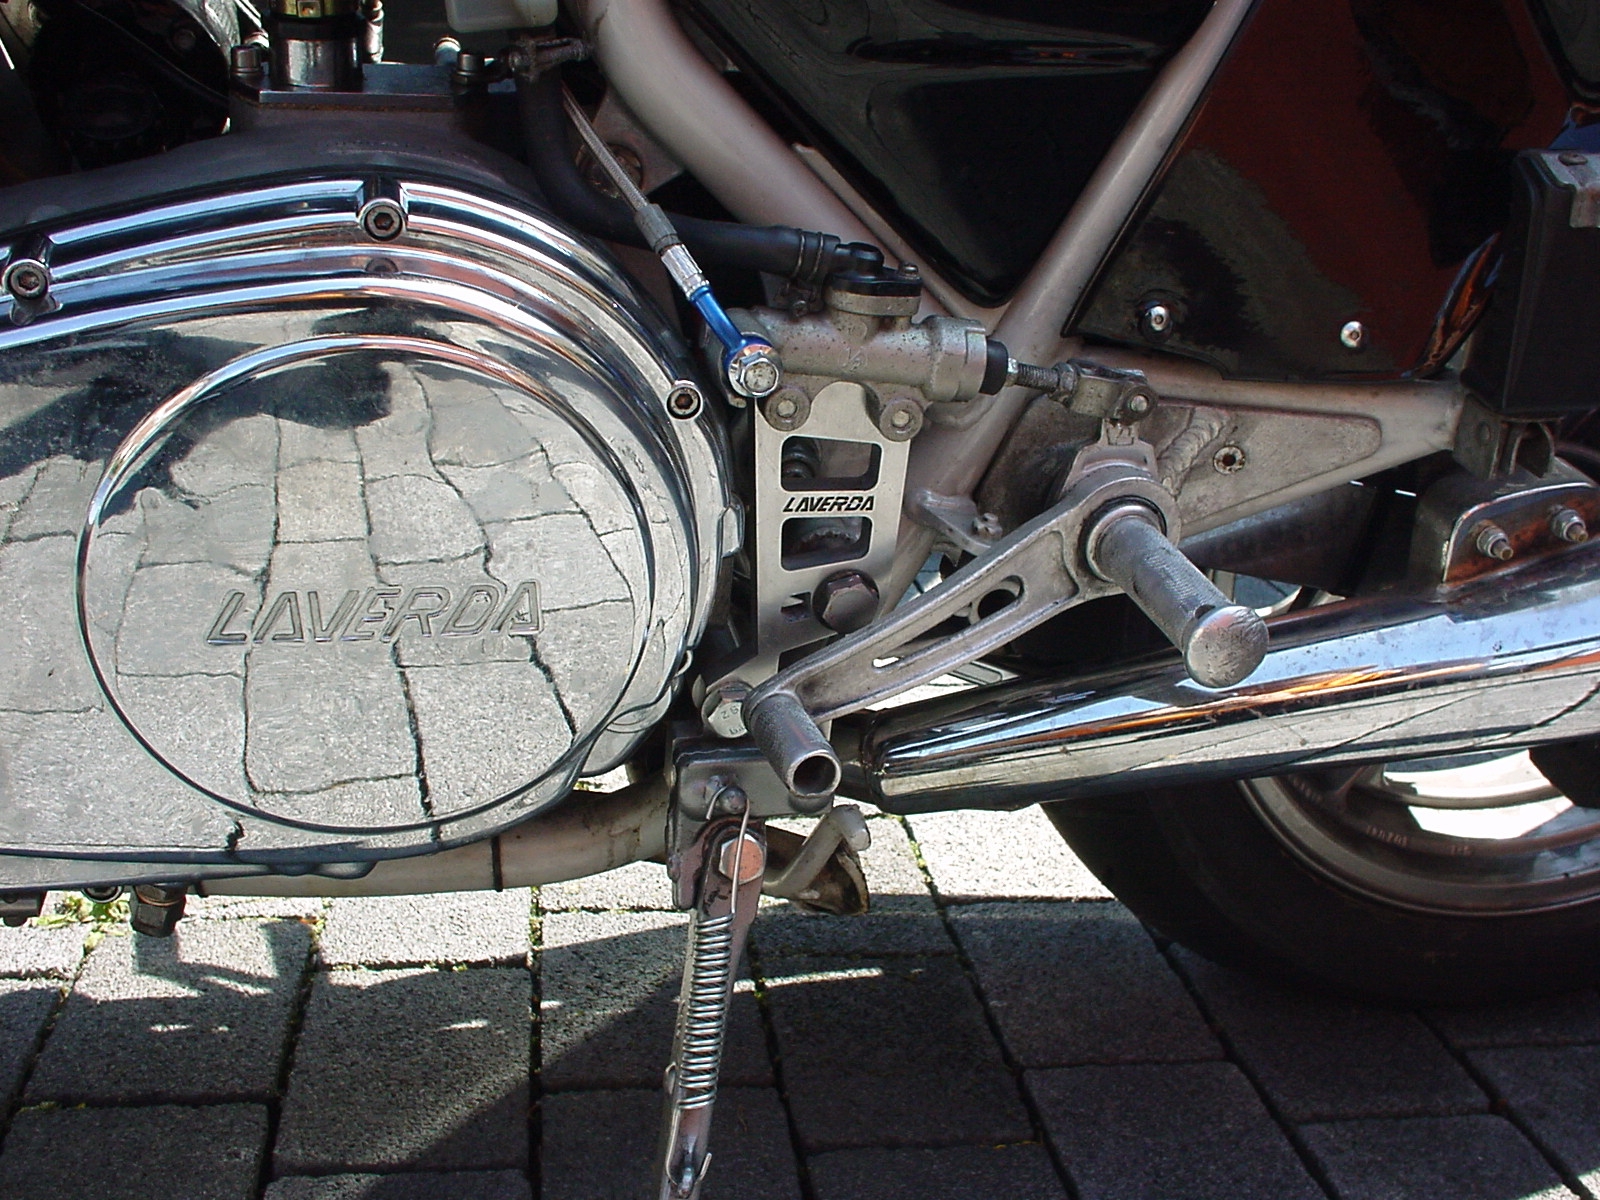
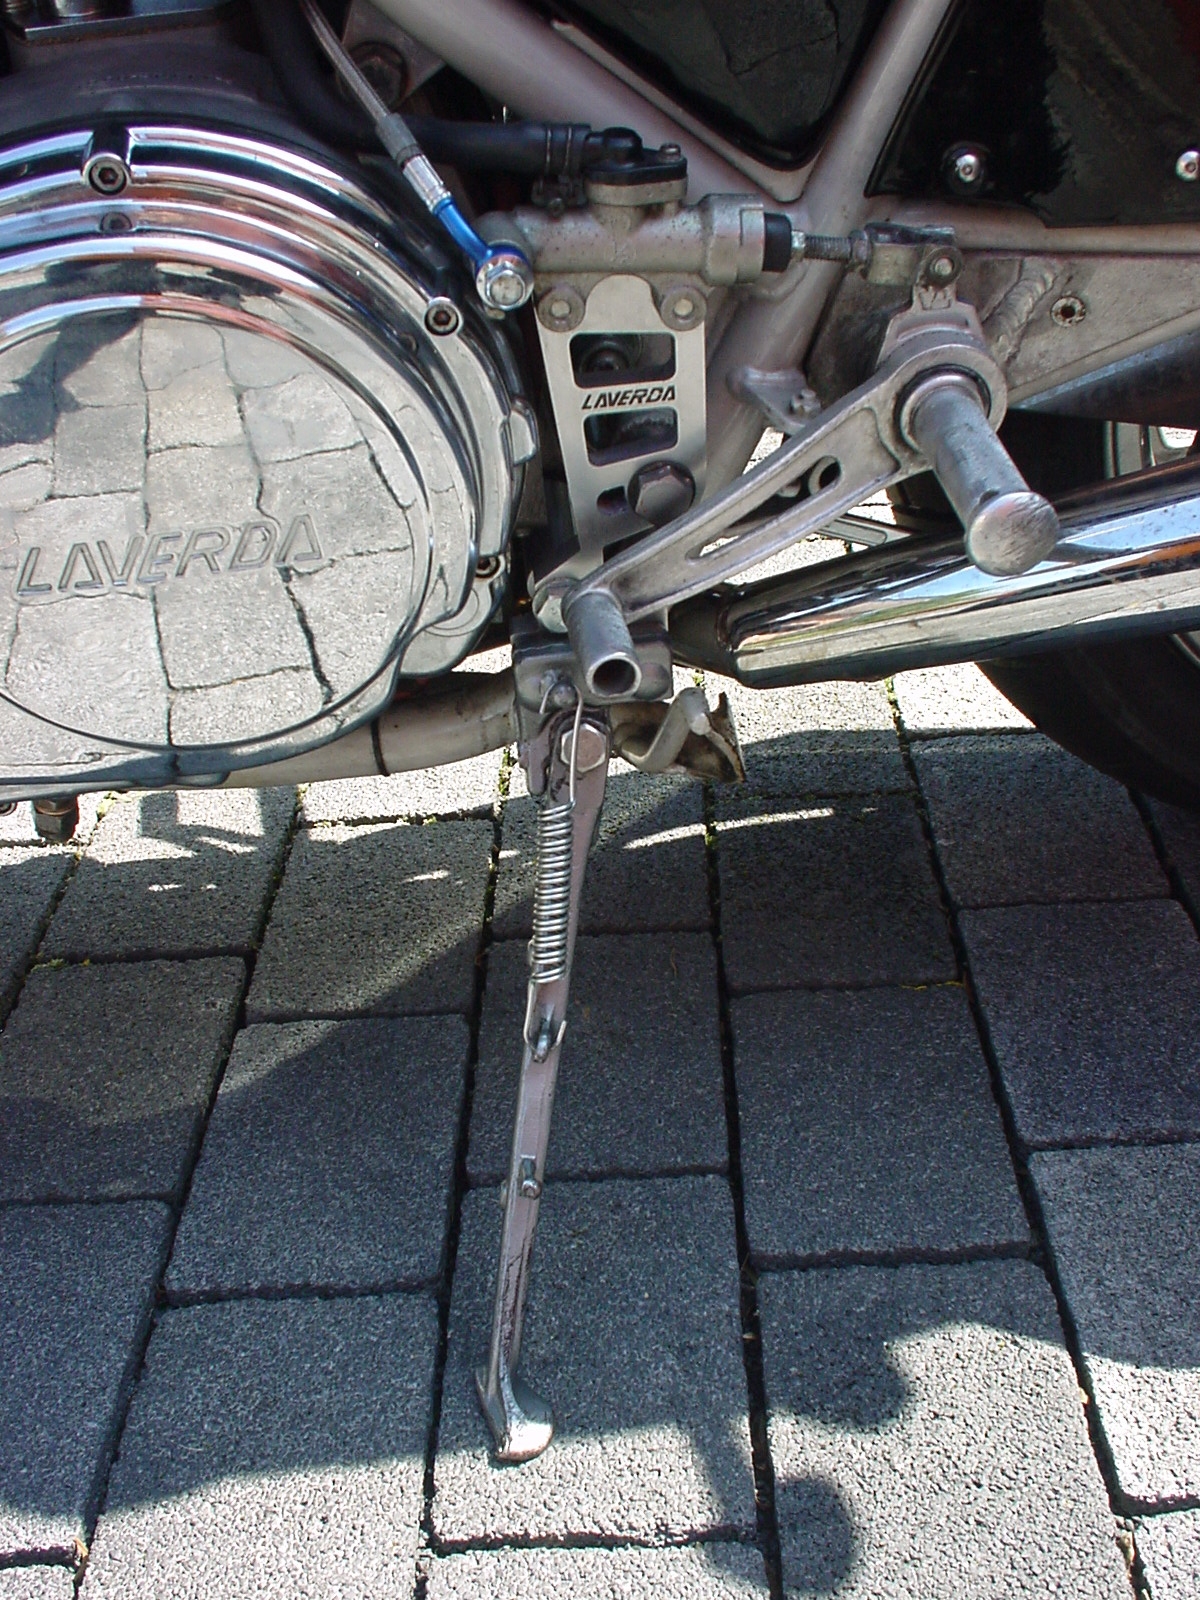
Not sure if Red was first or me, but we both have a solution for it. Mine even combines the sidestand-bracket with the bracket for the rear master...  ;)

IM003731.jpg


That's from August 2007, just for the records...  :D

more pics:

DSC01965.jpg

DSC01962.jpg

DSC01963.jpg

DSC01964.jpg


Unfortunately mine was made in to soft material so that the lower end bends a bit and the angle the bike stands on the sidestand now is not really good... I would need to do it in a more solid material and maybe change 1 or two other points, but it still works fine after 13 years.
 
Really nice way to do it all in one piece Lothar, would look a little tidier if the main mounting bolt was countersunk ,that?s just me being a bit of a neat freak mate😂😂👍
Tom
 
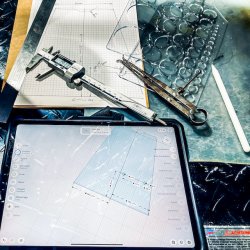
Im still a little old school, when I draw something up to put into cad, I often use grid paper and old school tech to make a template, then when I am happy, I use all the data , and draw the template in cad or some app on my iPod, then I save it as a .stl file , and then slice it and send it to 3d print. Mostly I print in Asa for rapid proto types, if it needs to be structural I will use nylon or carbon infused filament.  But the ibest thing about this process  is you then have the 3d file which can be sent to any machinist with a CNC machine. My next purchase will be a table top 5 axis CNC machine. Amongst other things it will be used 99% for work, and that means I am More self sufficient. Being able to draw like this saves a ton of money!
 

Attachments

  • old skool.jpeg
    old skool.jpeg
    209.5 KB · Views: 178
I do it in pen, then copy to cardboard, then transfer to aluminium or steel and uplift my hacksaw and files. If holes are required, using a drill press is preferable.

But then, I?m from a different generation, and my engineering background is limited, and therefore may not be sound.
 
chrisk said:
I do it in pen, then copy to cardboard, then transfer to aluminium or steel and uplift my hacksaw and files. If holes are required, using a drill press is preferable.

But then, I?m from a different generation, and my engineering background is limited, and therefore may not be sound.

Getting girlfriends is even different  these days ! I remember writing notes to girls and asking them out by actually talking to them ..... now it?s swipe right.
I guess that?s t still gets everyone in the same place  :LOL: :LOL: :LOL: :LOL: :LOL:
 
amongst other things, getting throttle cables, rev counter cables in, measuring for brake lines etc I did a bunch of printing

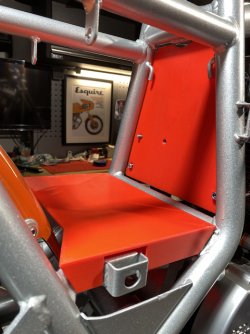
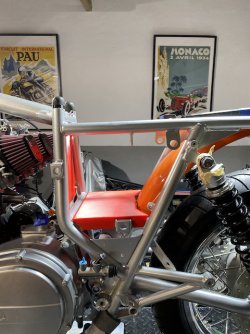
Its quite fascinating watching the printer print, and what it actually prints first .. first photo is the bulkhead, that came out really nice, printing lets you get some good results to fit in  a space that isn't quite square, and the bulkhead came out fitting pretty sweet. I also printed the tray floor where the battery used to go... . aside from a deep lid of say 70 mm going against the bulkhead, 20 mm of that will be obscured by the frame , the rest of the space will be empty and clean.

For the brake hoses, I have gone with Hel hoses, I like the custom build page, where you can choose your fittings which allows you to get away from banjos where you don't need them.

I wonder has anyone had any experience with the Hel master cylinders for clutch and brake? They look quite nice, and are machined rather than forged/ cast as per the similar priced brembo radial master cylinders... any feed back on those?

I have brembo PS 13, and 16 up front at the moment, which can go on to my 1200, I was just wanting to try the feel of a radial MC.
 

Attachments

  • bulkhead printing.jpeg
    bulkhead printing.jpeg
    95 KB · Views: 121
  • bulkhead print1.jpeg
    bulkhead print1.jpeg
    125.4 KB · Views: 117
  • nothing but air.jpeg
    nothing but air.jpeg
    143.7 KB · Views: 119
Back
Top