Dellortoman
Hero member
- Location
- Tasmania, Australia
Hello sailorluckily there were tabs on the frame aft

Does your
Nice job BTW.

Hello sailorluckily there were tabs on the frame aft


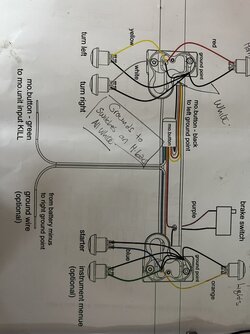
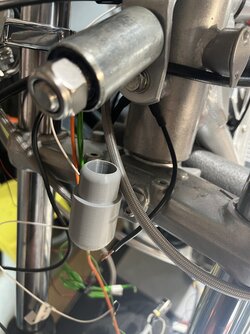
I have the wiring inside the clip ons, but I think its too tight to have that as well as the m button in there. Im glad you think its an elegant solution, I figure I have spent so much time doing things, i may as well do it the best I canYes, of course. Those M-button thingys were designed for switch blocks that have their wiring inside the handlebar. They're supposed to pick up the wiring inside the handlebar and make installation simpler by running just one comms wire back to the M-unit. But if you have handlebar switches with external wiring (like the Suzuki-type switches on most Laverdas) then you have to find an alternative home for the M-button. Anyone without your fabrication resources (ie. most of us) would find that difficult.
Even if you'd converted your switches so the wiring would go inside the handlebars (not a difficult job), you'd still be up shit creek with Laverda handlebars because you can't simply pull the wires through the bars, as shown in the Motogadget diagram.
So, in my view, there's not much point in having the M-button with externally wired switches and Laverda bars (or clip-ons). It would be simpler to run the external switch cable bundles directly to the M-unit.
I reckon If I'd had to do a similar thing to what you've done, mine would have been a monkey wrench job using a bit of galvanised water pipe with threaded caps on the ends. Yours is a little more elegant than that.
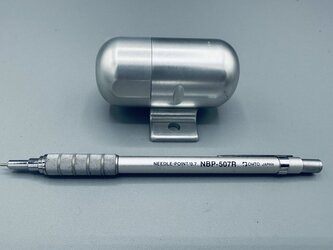
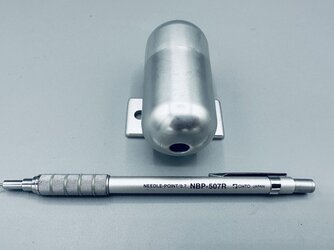
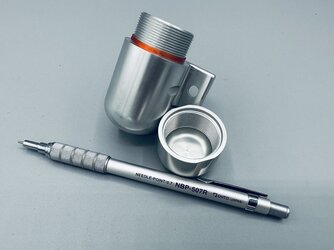

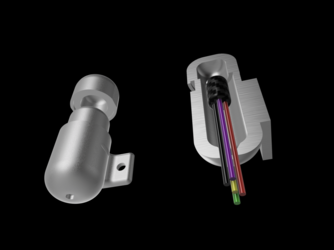
Flash as all get out!The holder for my m.button that I designed , turned up today, originally I wasn’t going to anodize it, but I figured it was a good idea to, just to be sure and because I was anodizing some other bits and bobs. I had time enough to print the seal for cap today, that was a whole 88 seconds… but the printer is in use 24/7 these days with other projects, hopefully this weekend there will be a window to print the anti vibration sleeve that the m button will slide into when it’s home in its holder. in Any case it’s pretty cool seeing my little designs become reality.
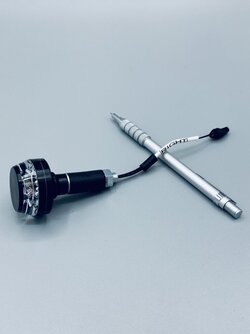
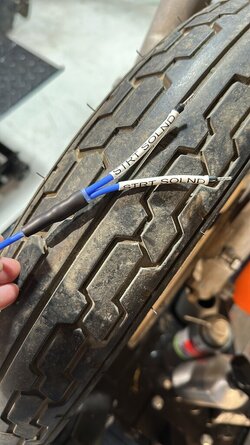
You are using 0.5mm conductors yet the Black bootlace in photo #2 is for 1.5mm conductor
Yup. That’s the one.Ah, ok. Just the indicator end is 0.5mm?
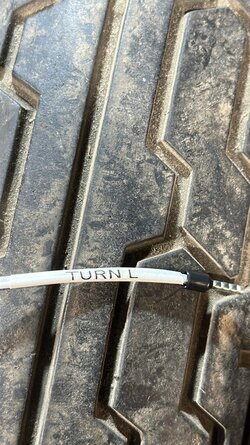
Sounds like mine, but I never labelled anything, it all just runs to the amps and one HDMI cable to the tv, which I kid myself makes it look tidy, but 9 speakers and their cables make it complicatedYou should see behind my Tele sensurround sound system and Stereo, flags everywhere. Think 3c headlight internals x infinity. Plus power boards on power boards. No fires so far.